
NOTE: These instructions are for the original Altair-Duino Standard kit which is no longer available. You could probably make this work with the Altair-Duino Experimenter, but you would lose the expansion bus.
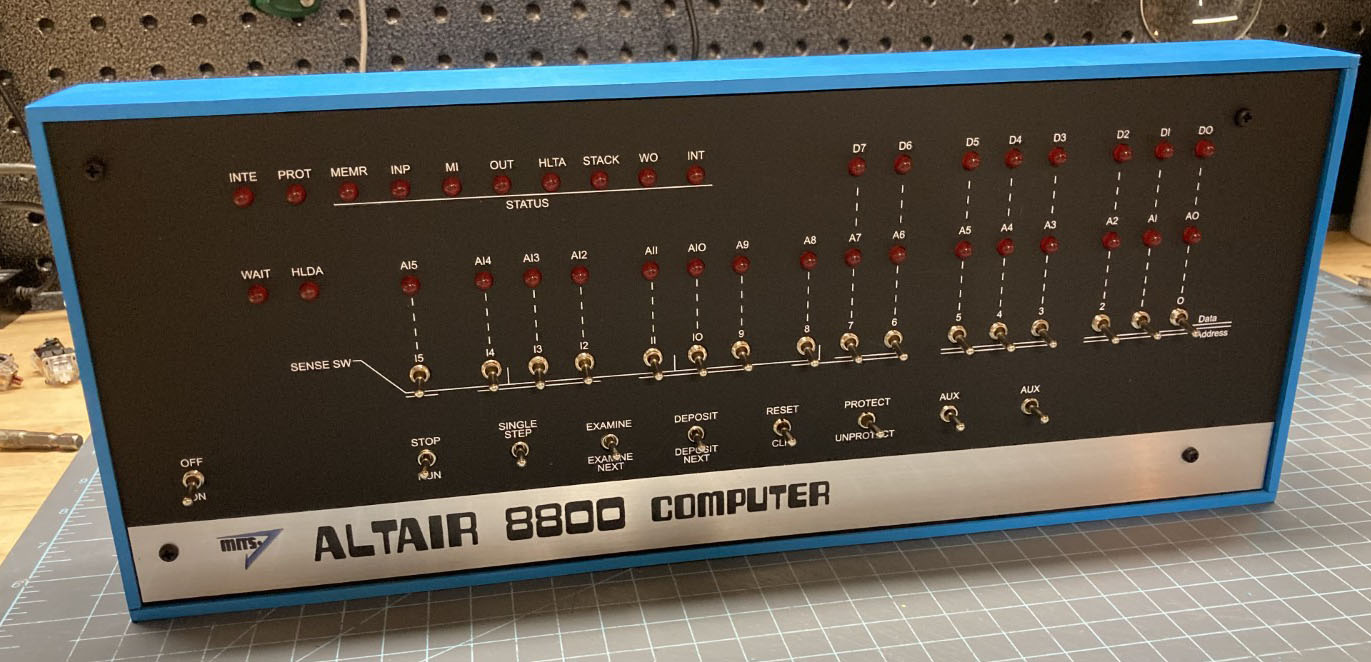
My kit used to be sold with a bamboo case, and a few guys painted them "Altair Blue" which made for a really nice effect. The Standard kit is the perfect size to fit in the same bamboo case, so here's how to do it:
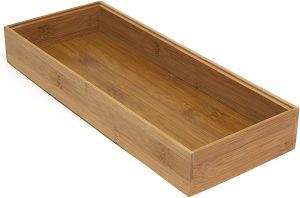
- Get a "Lipper International 8186S Bamboo Wood Stacking Drawer Organizer Box" from Amazon. It's 6" x 15". Yeah, the kit used to come in a kitchen drawer organizer...
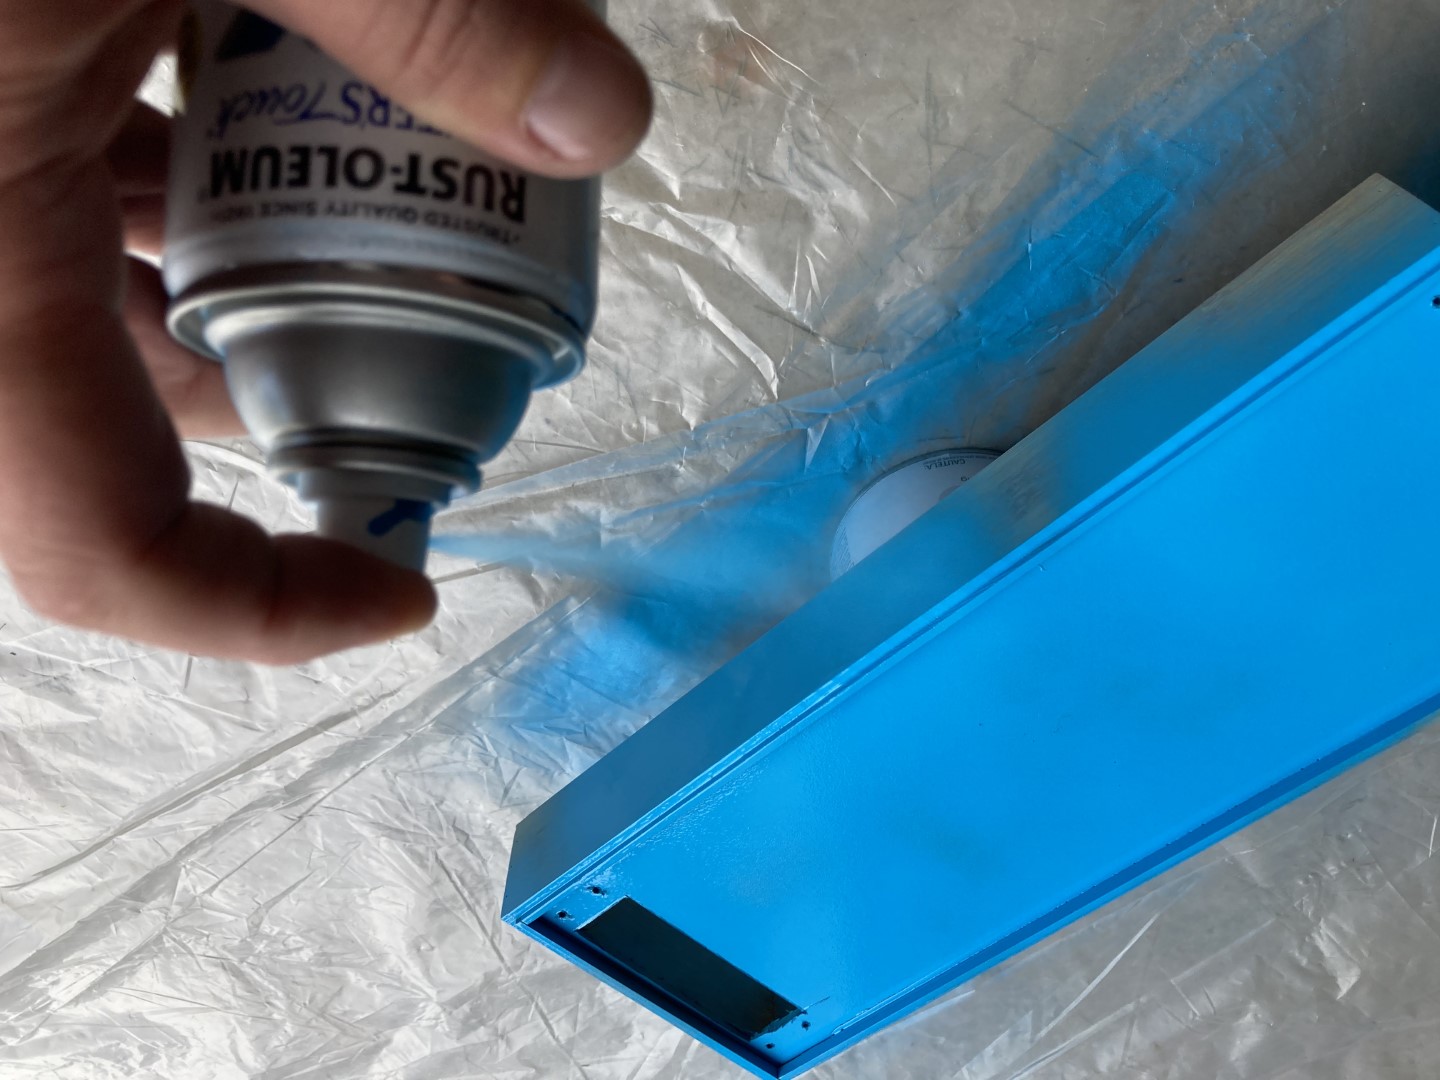
- Get a can of "Rust-Oleum® Painter's Touch® 2X Ultra Cover® Satin Oasis Blue General Purpose Spray Paint". You can find this at most big box home stores (or Amazon.) You don't have to get this paint or color, but I've found it to be an acceptable match to the original Altair. It is paint and primer, so one coat should work fine.

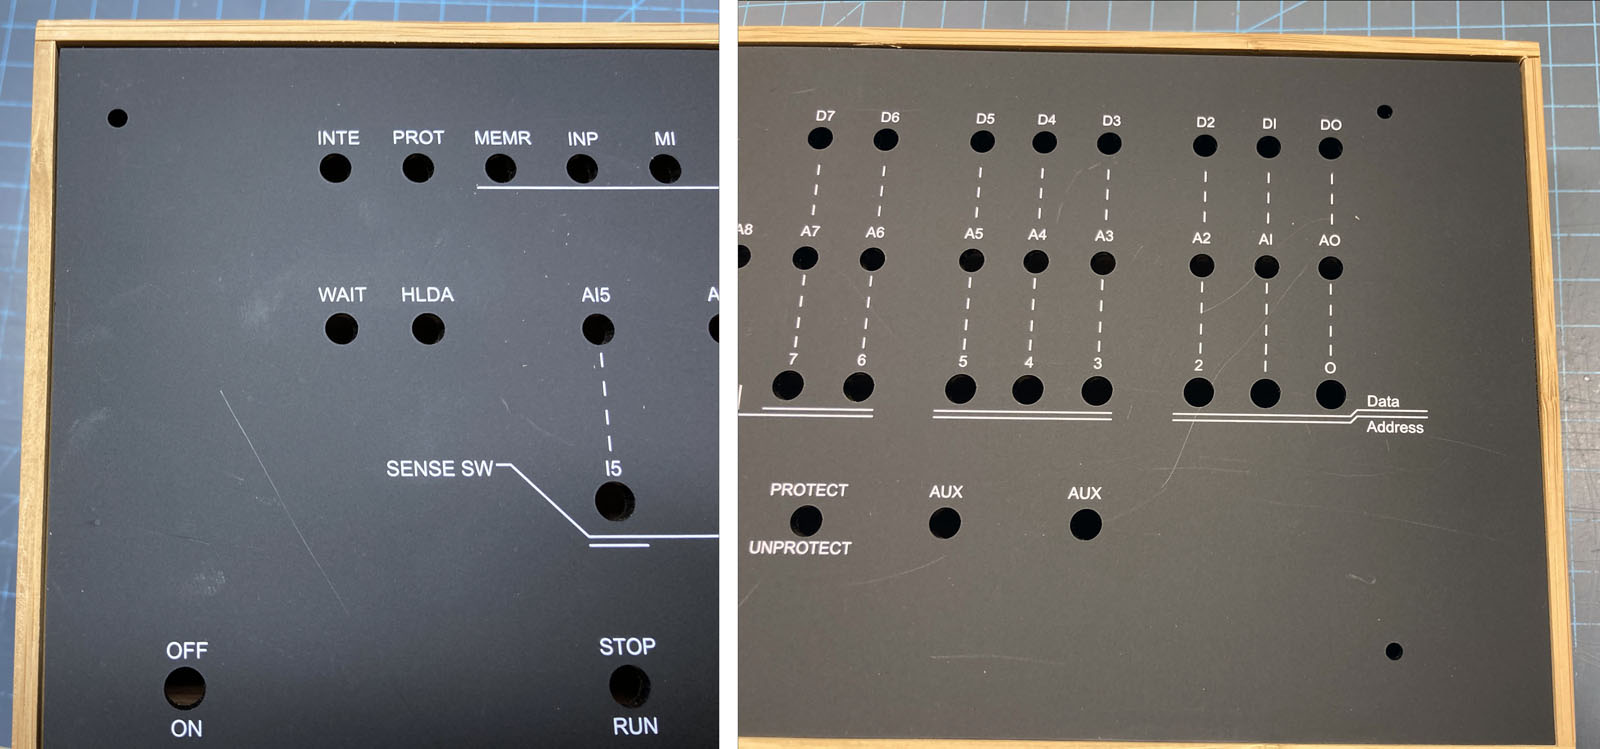
- Make sure the front panel fits inside the lip of the bamboo box. Since it's a wood product, there is typically a variation in size (no more than a millimeter.) You can easily shave it down to size with an X-acto knife.
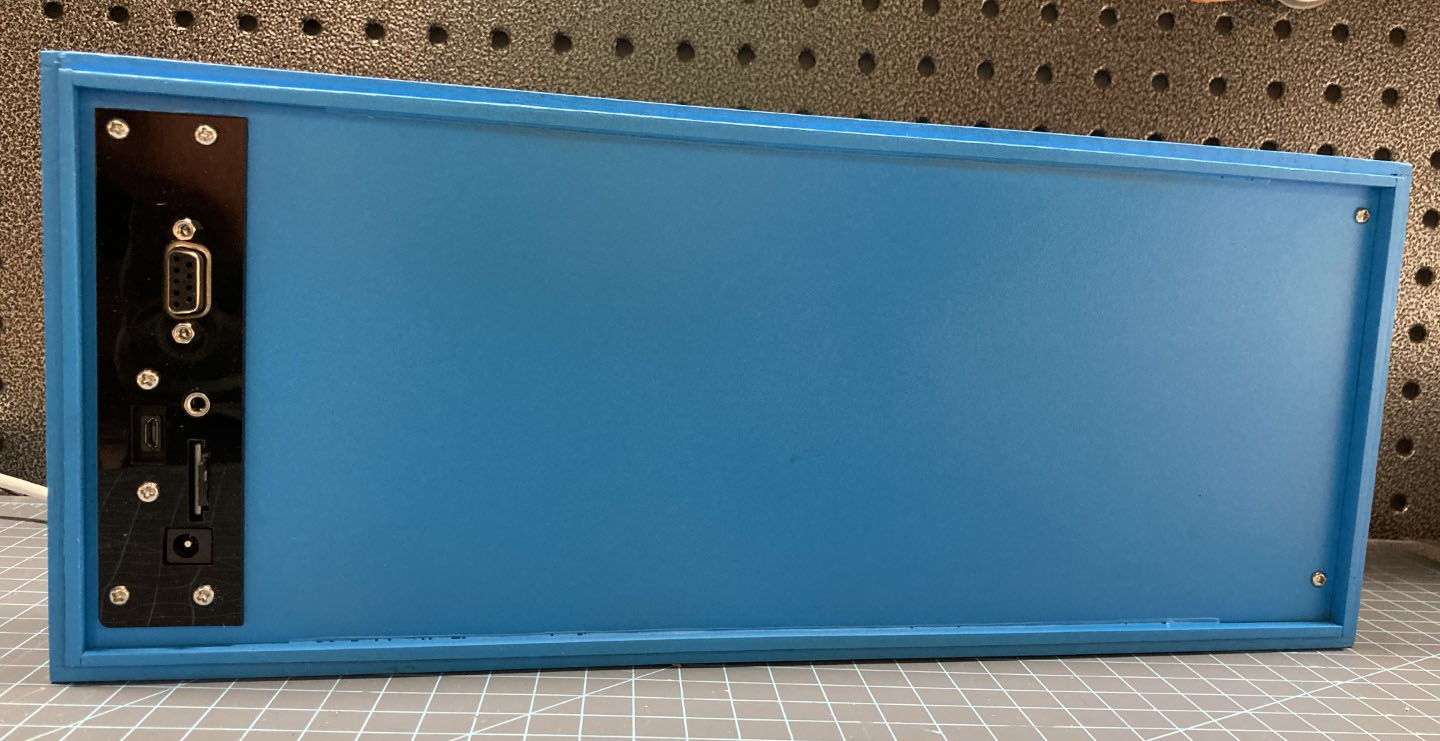
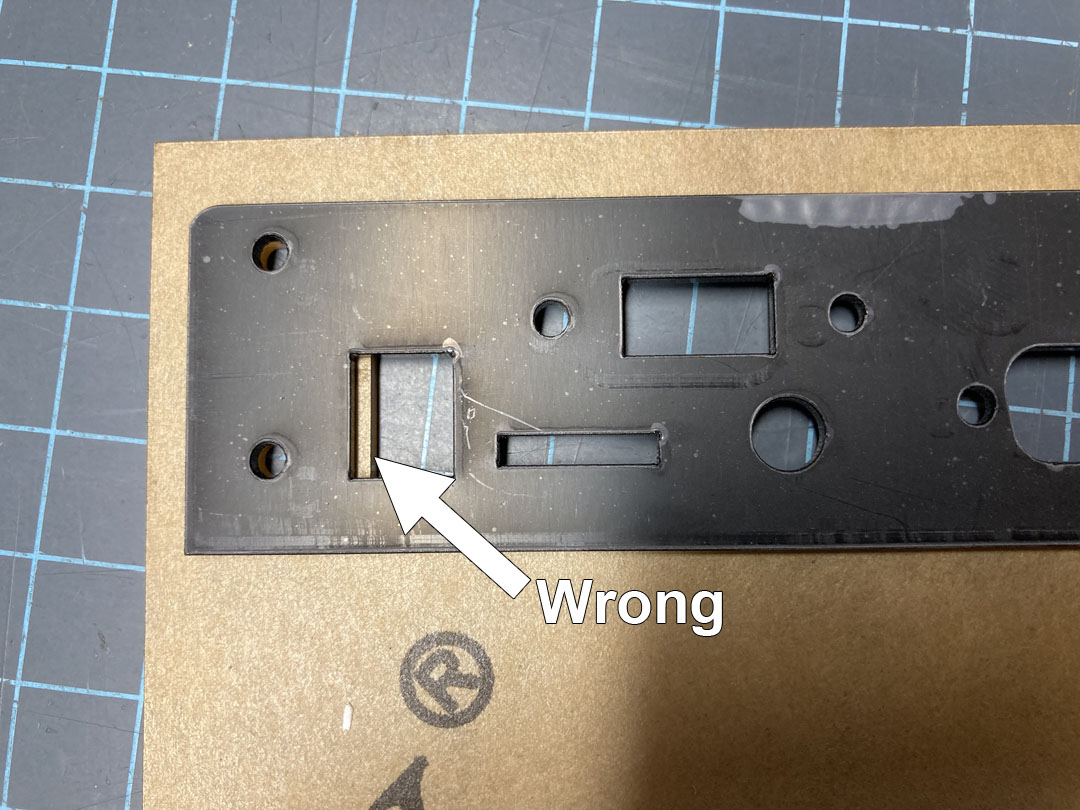
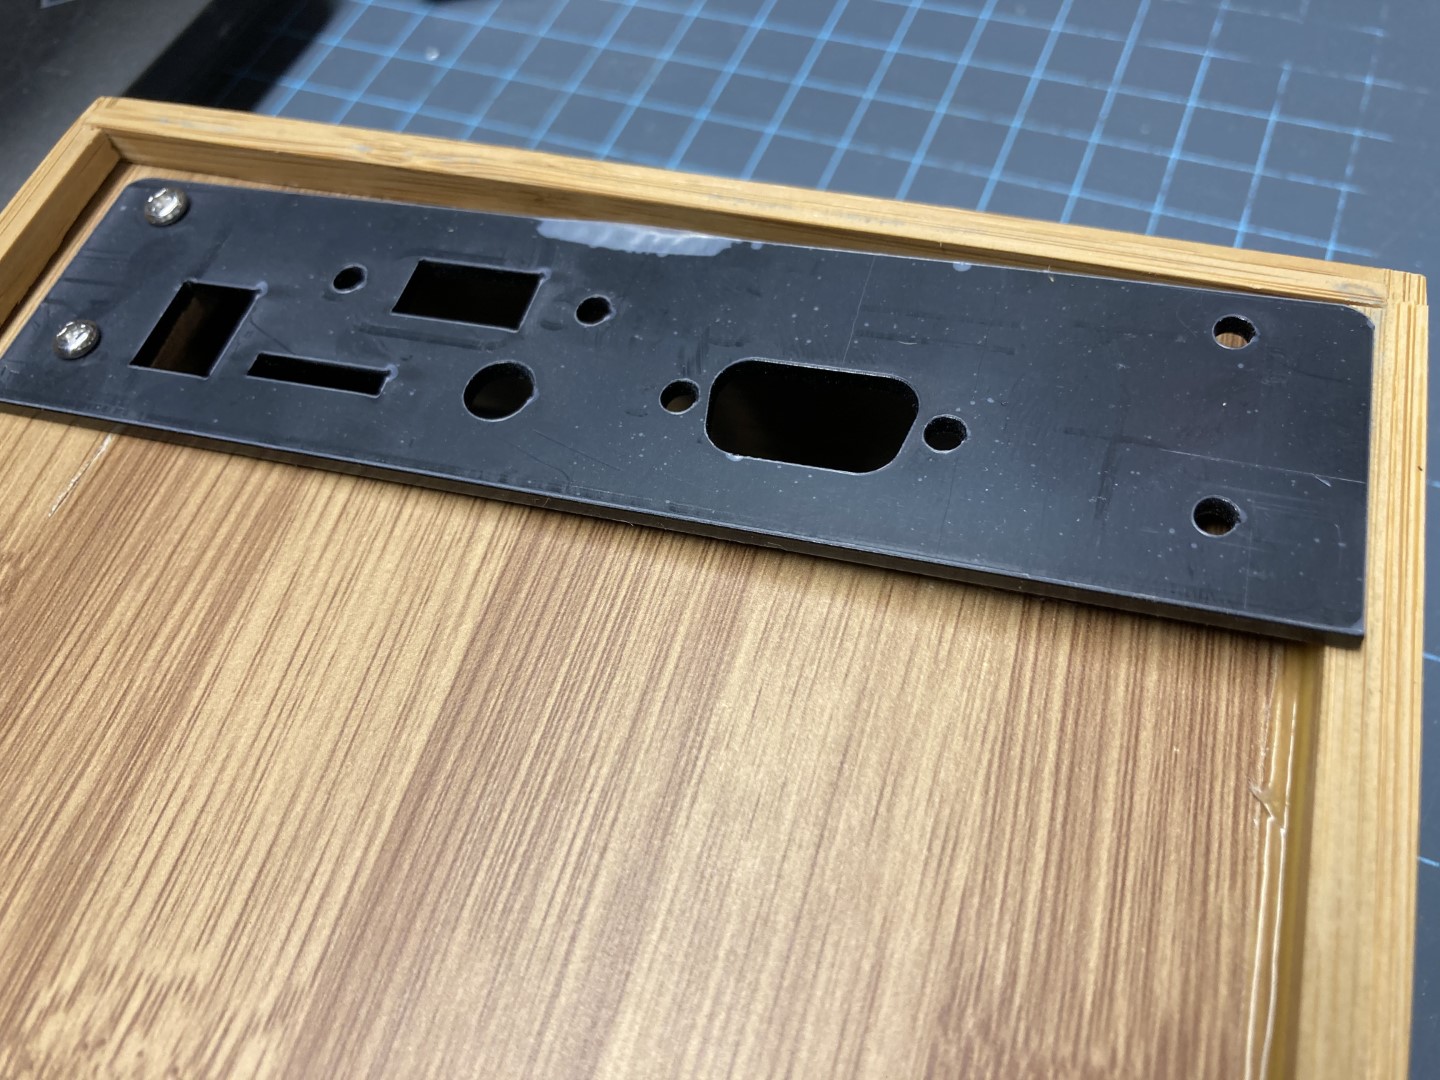
- Get the clear acrylic rear panel and the connector panel. We will use this to determine the back of the rear panel. Place the connector panel over the 3mm bolt holes and see how it lines up. If you see a millimeter or so of panel extending into the power connector hole, you have the wrong side.
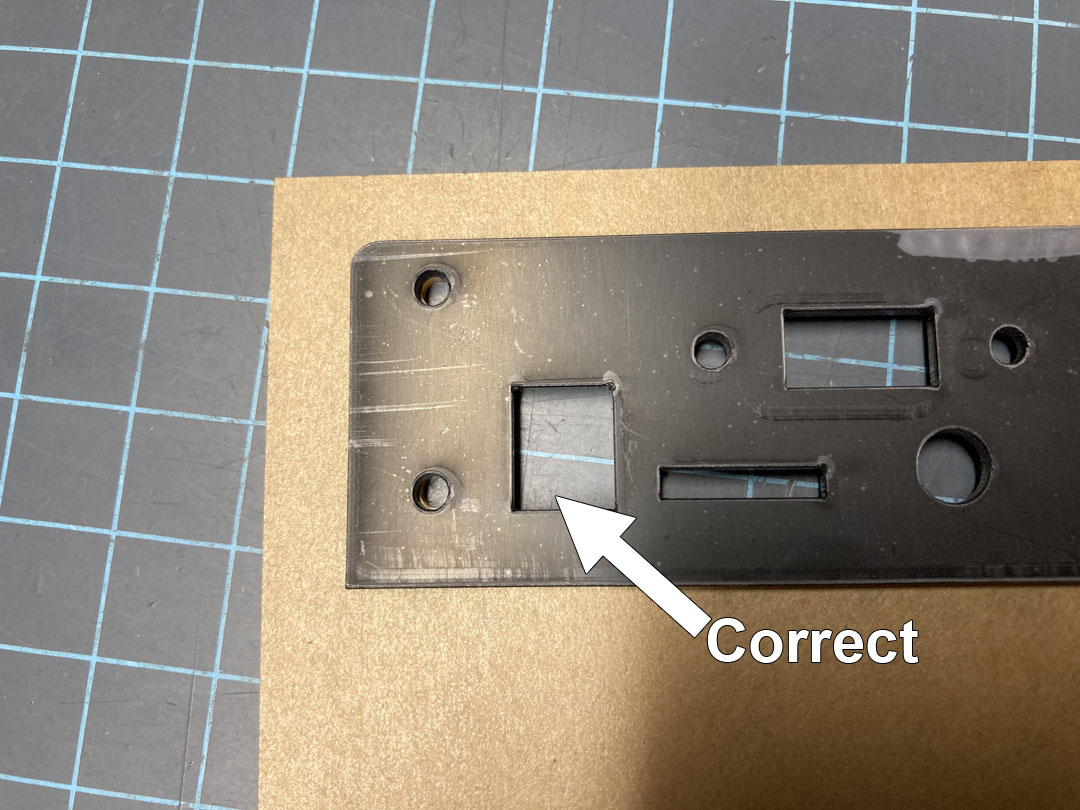
- If necessary, flip over the rear panel and try it again. This is the correct side.
- I like to mark the back so I don't lose track before the next step.
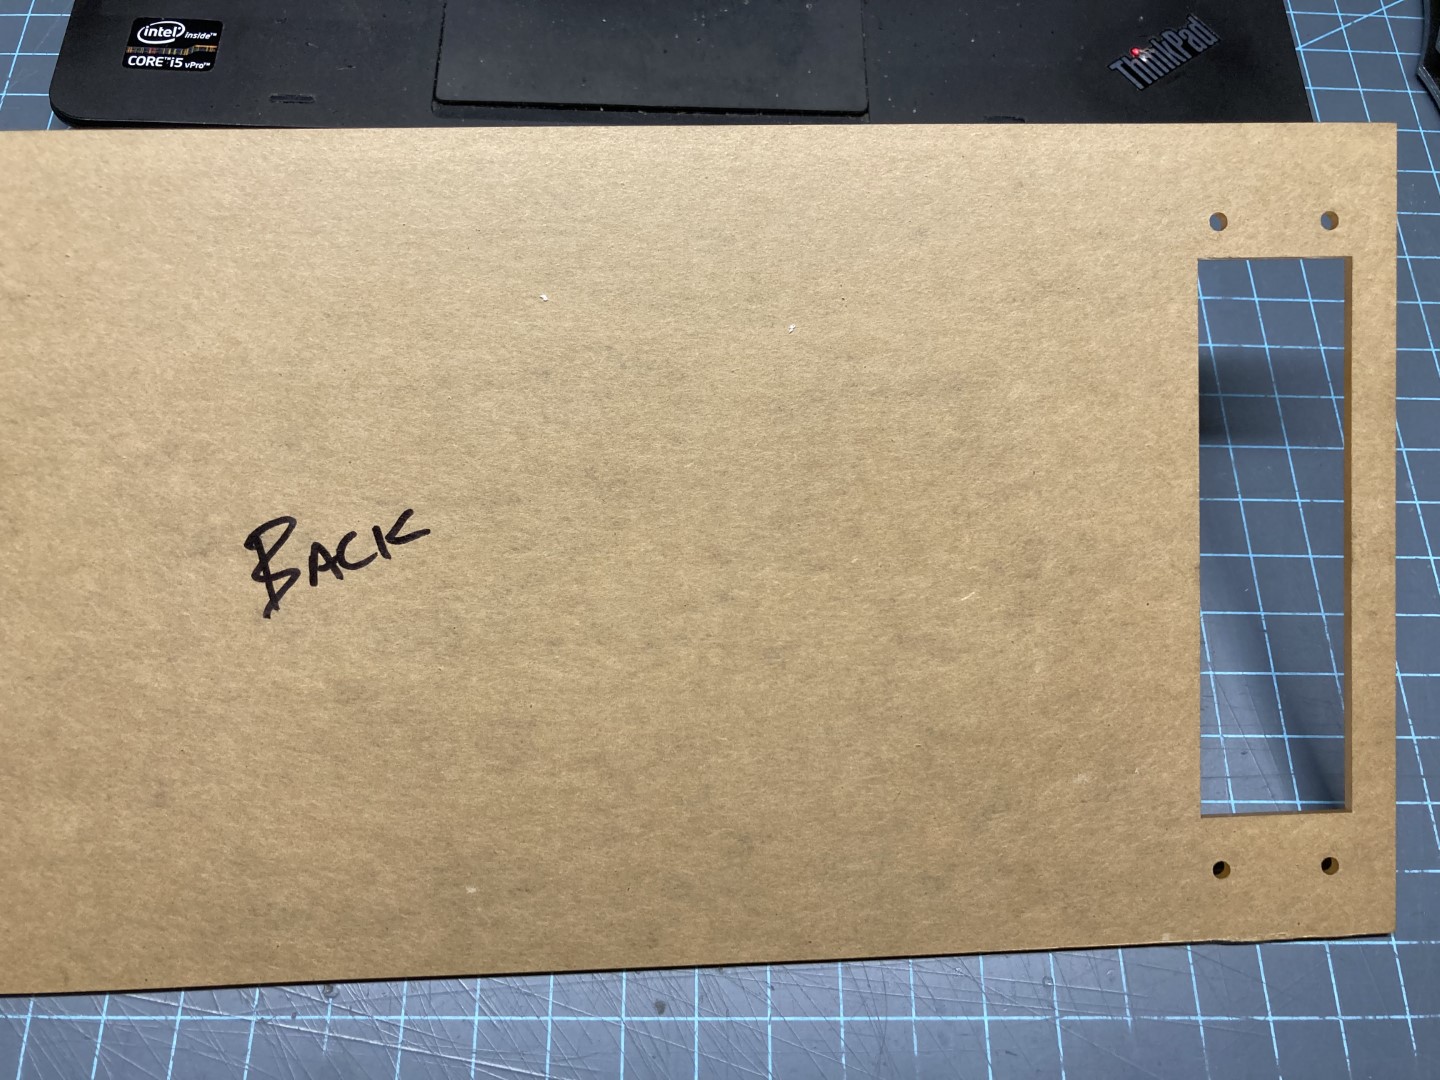
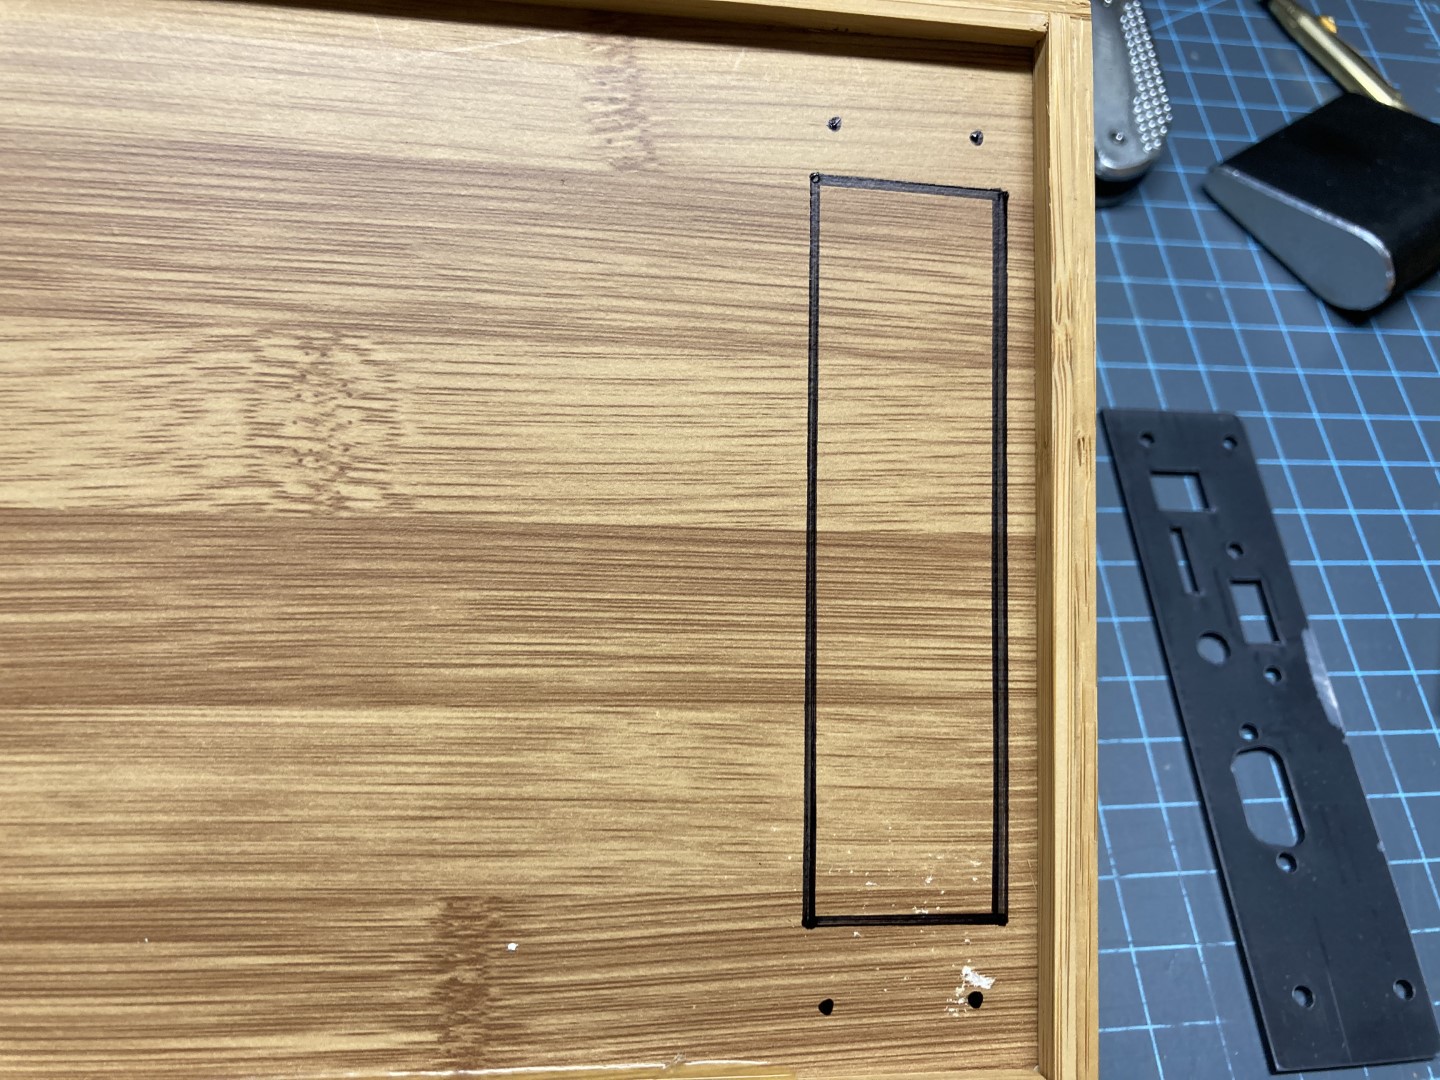
- Place the acrylic rear panel over the back of the bamboo box, and center it as closely as possible.
- Take a pen, pencil, or narrow marker and draw the holes and cut-out on the back of the bamboo box.

- These are the places where you will drill and cut.
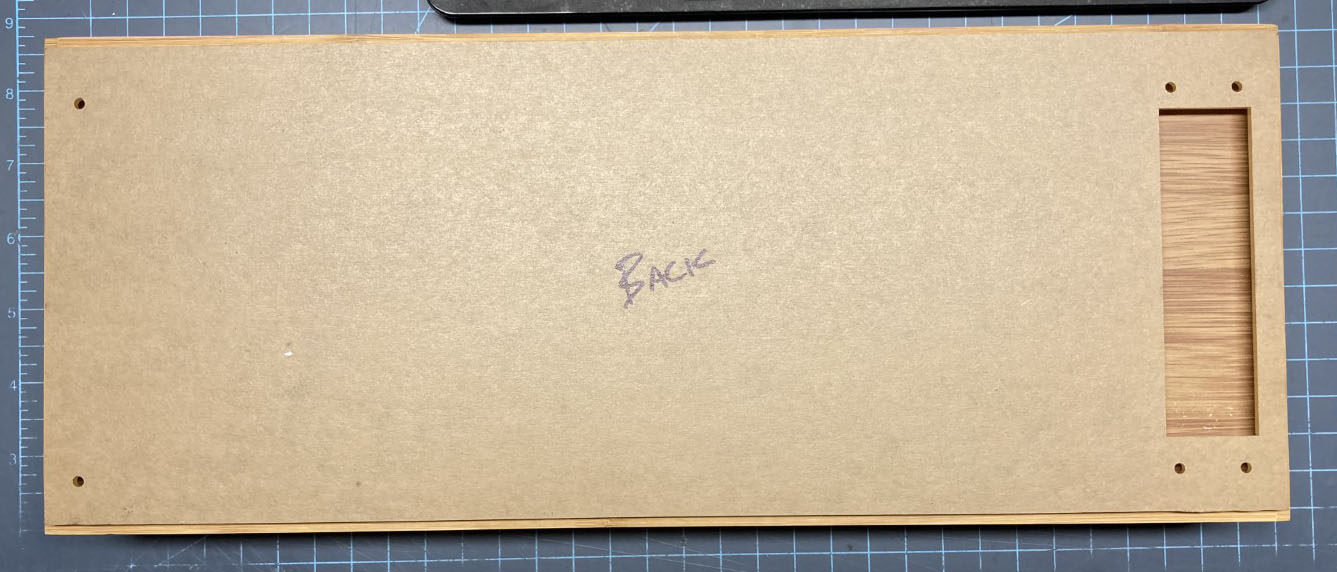
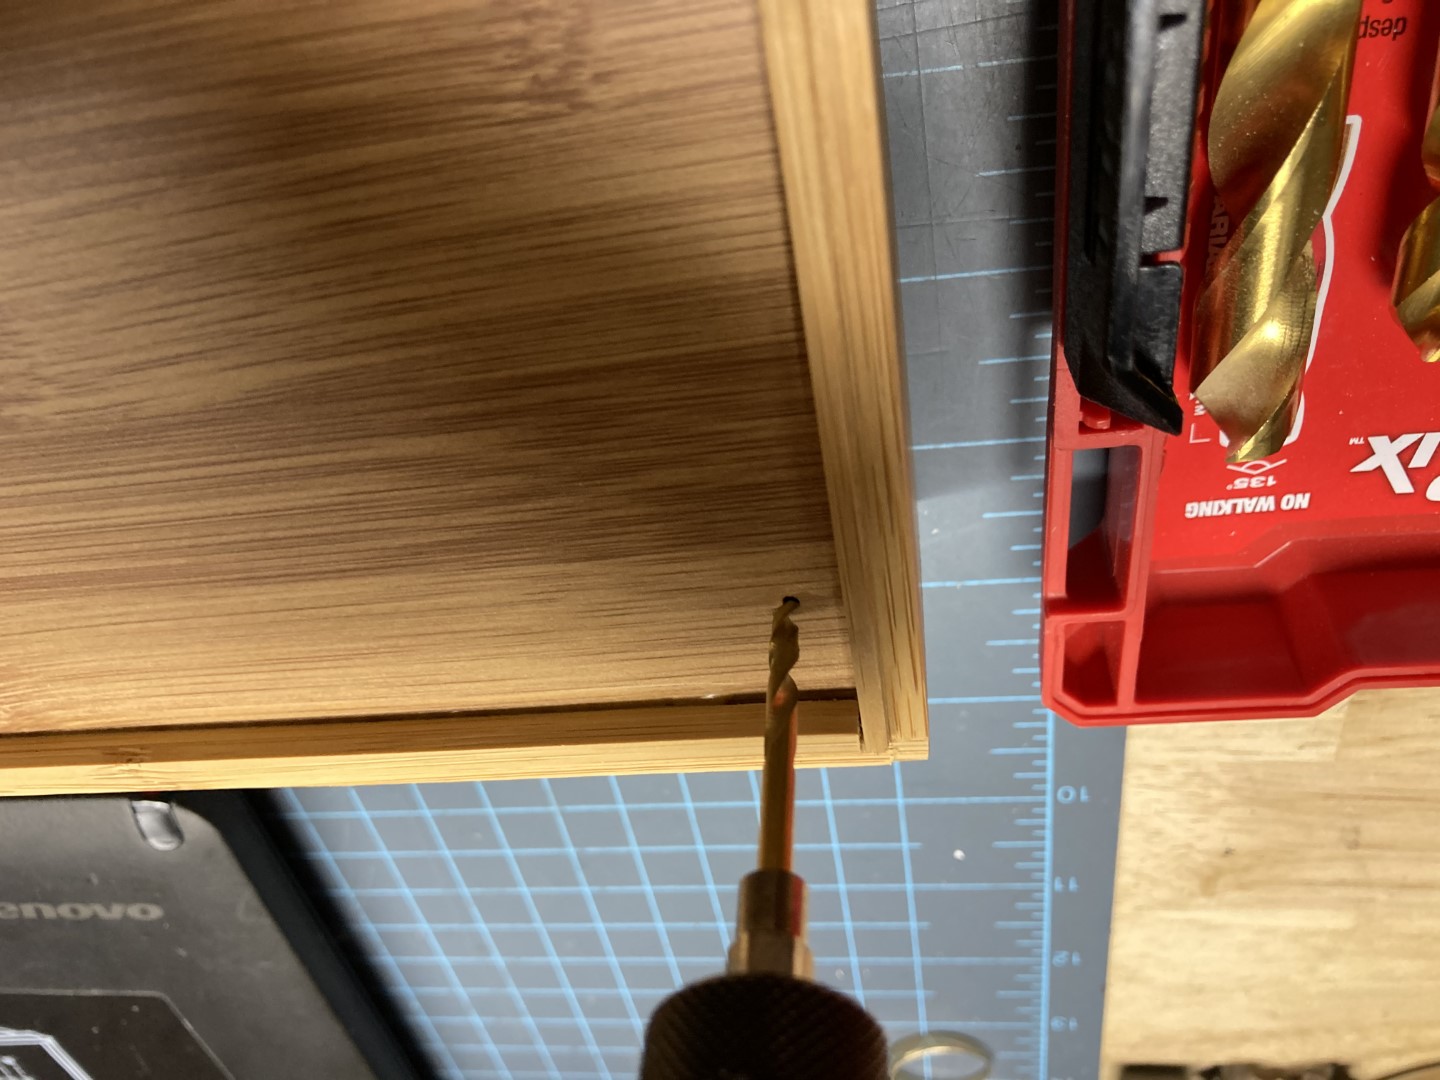
- Drill the holes with a 1/8" or 3mm drill bit.
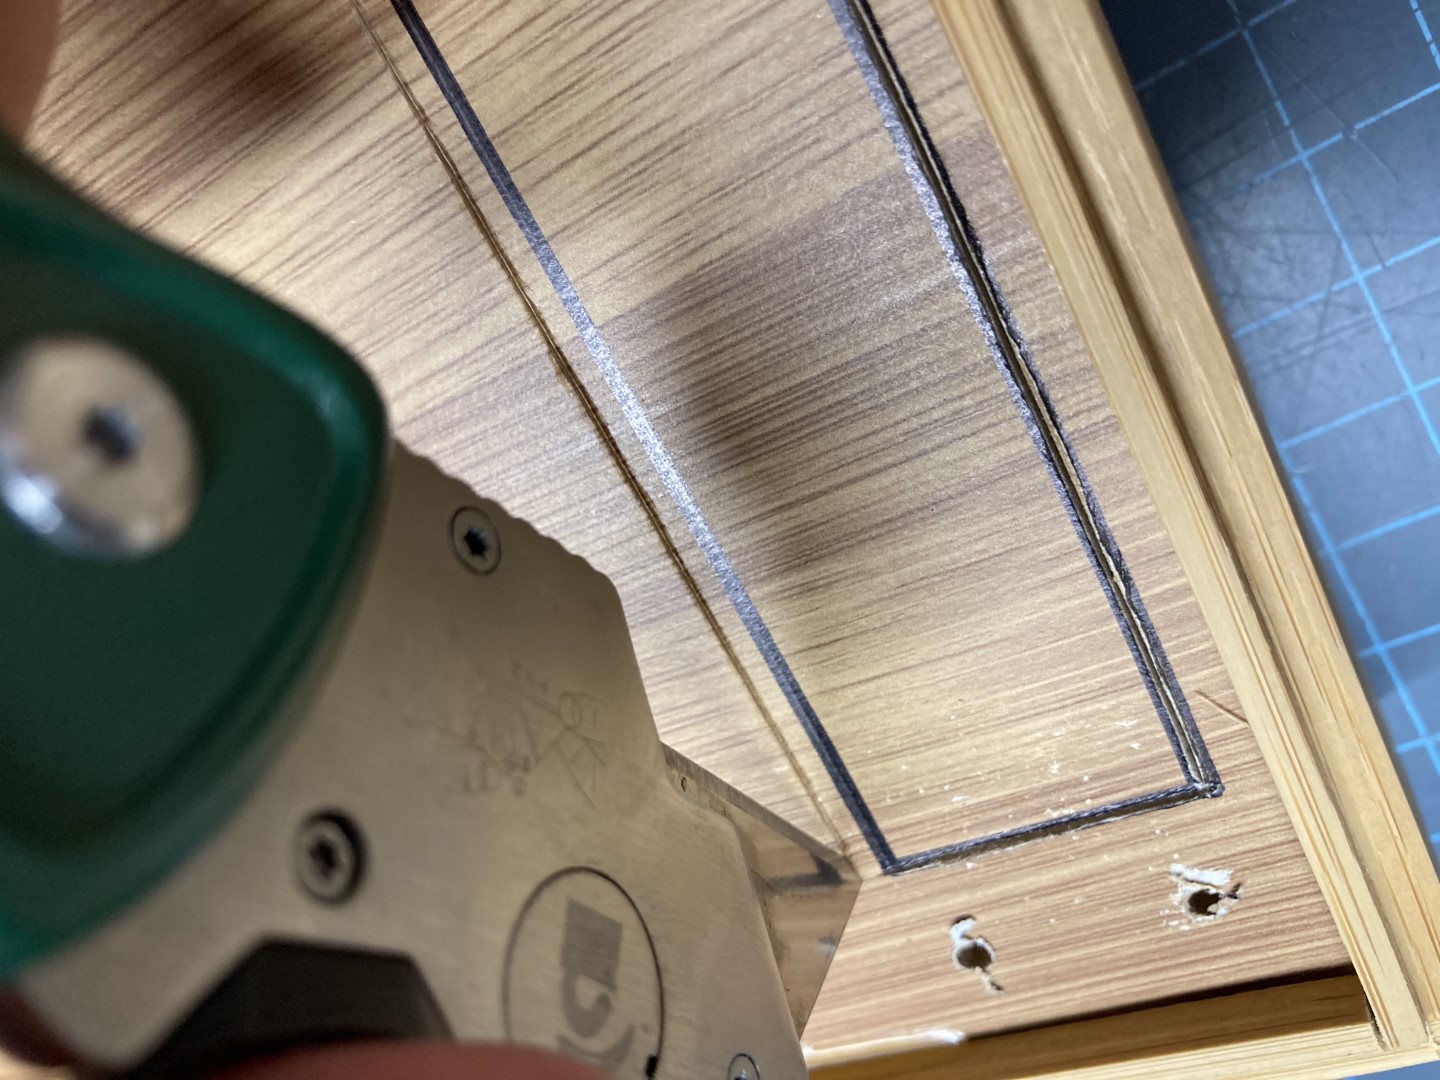
- Remove the cut-out with an X-acto knife or razor.
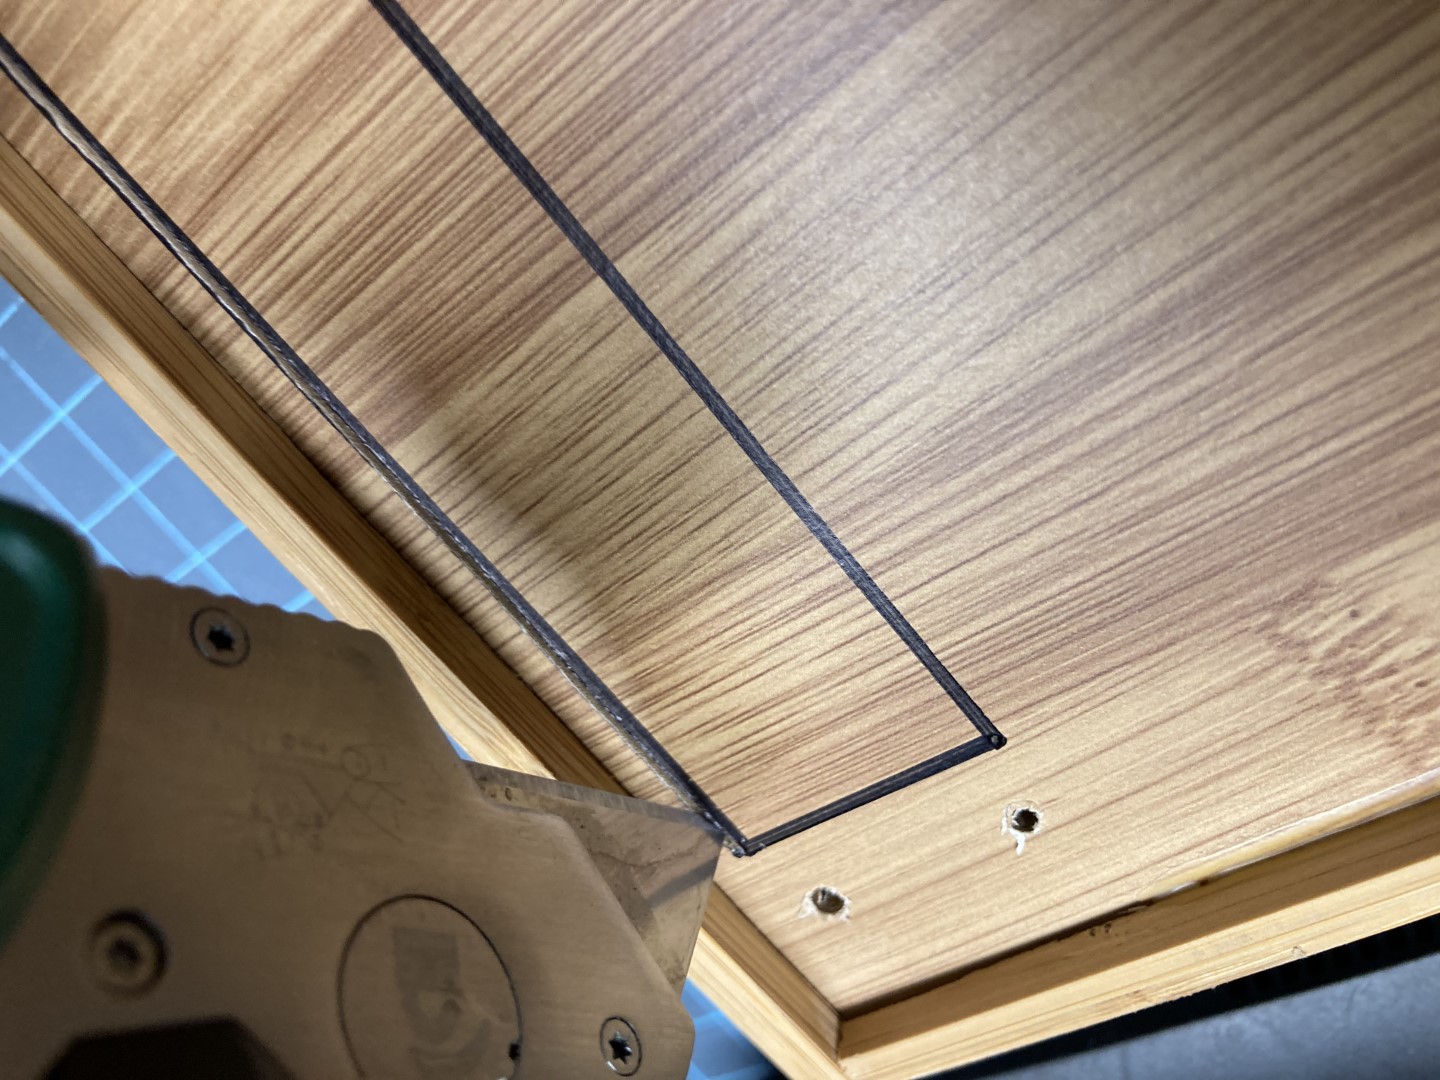
- You will want to cut on the markings, or a little wider. But especially on the bottom of the marked area, you will want to extend that cutout by a millimeter or so.
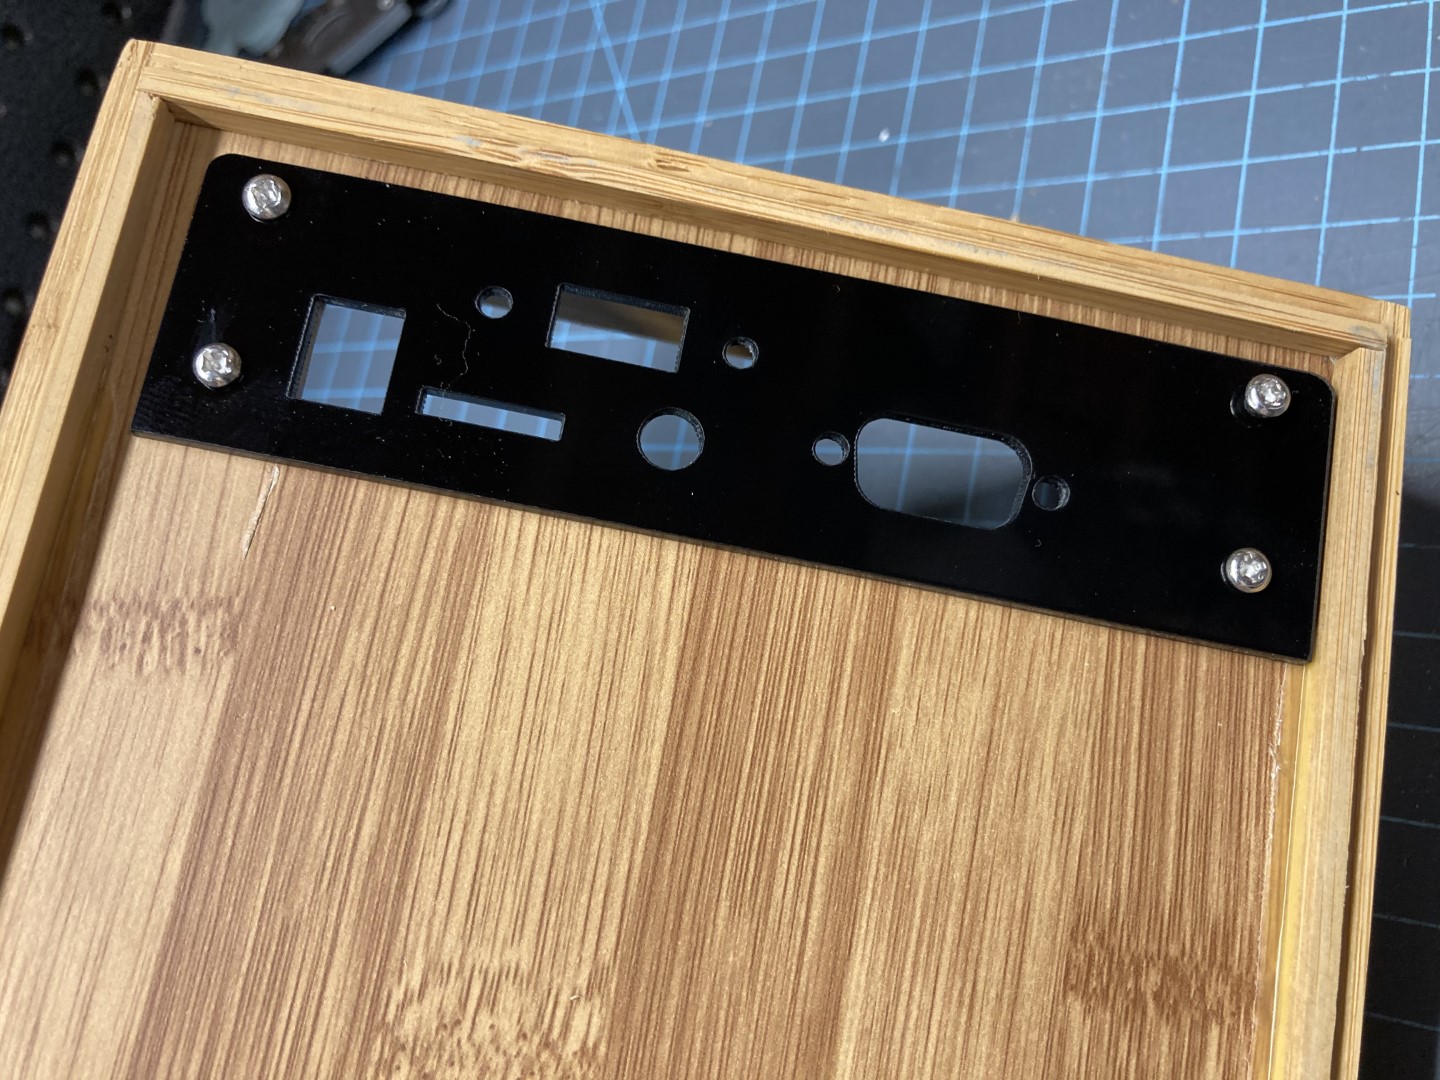
- If you place the connector panel in place, you'll see it's a little bit too long. You have a couple choices - you can trim three millimeters from the right side of the panel (which may not look so pretty...)
- Or you can email me and ask me to cut you a new panel on the laser cutter.
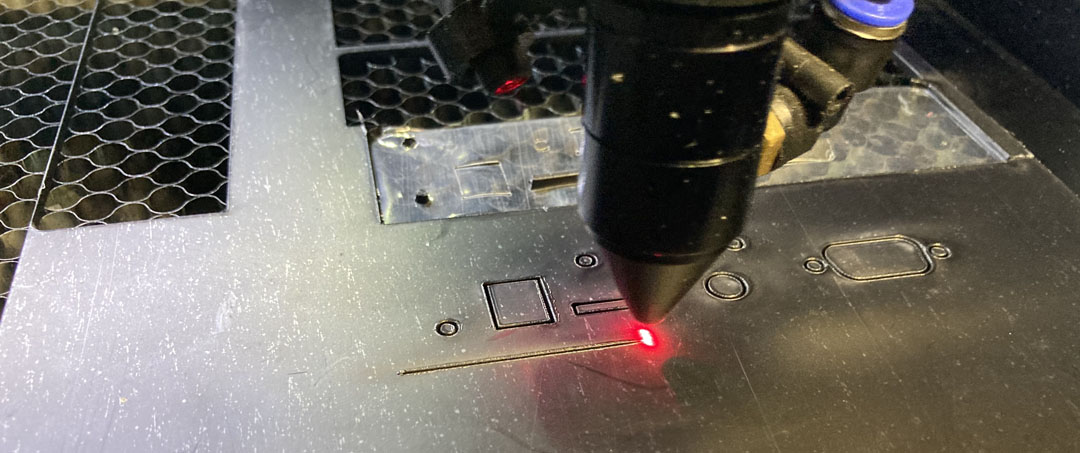
- Here's how a modified/new connector panel will look.
- Grab your paint and give it a nice coat, inside and out.
- You are going to want to attach the expansion board to the rear connector panel and secure it to the bamboo box with the top two nuts/bolts.
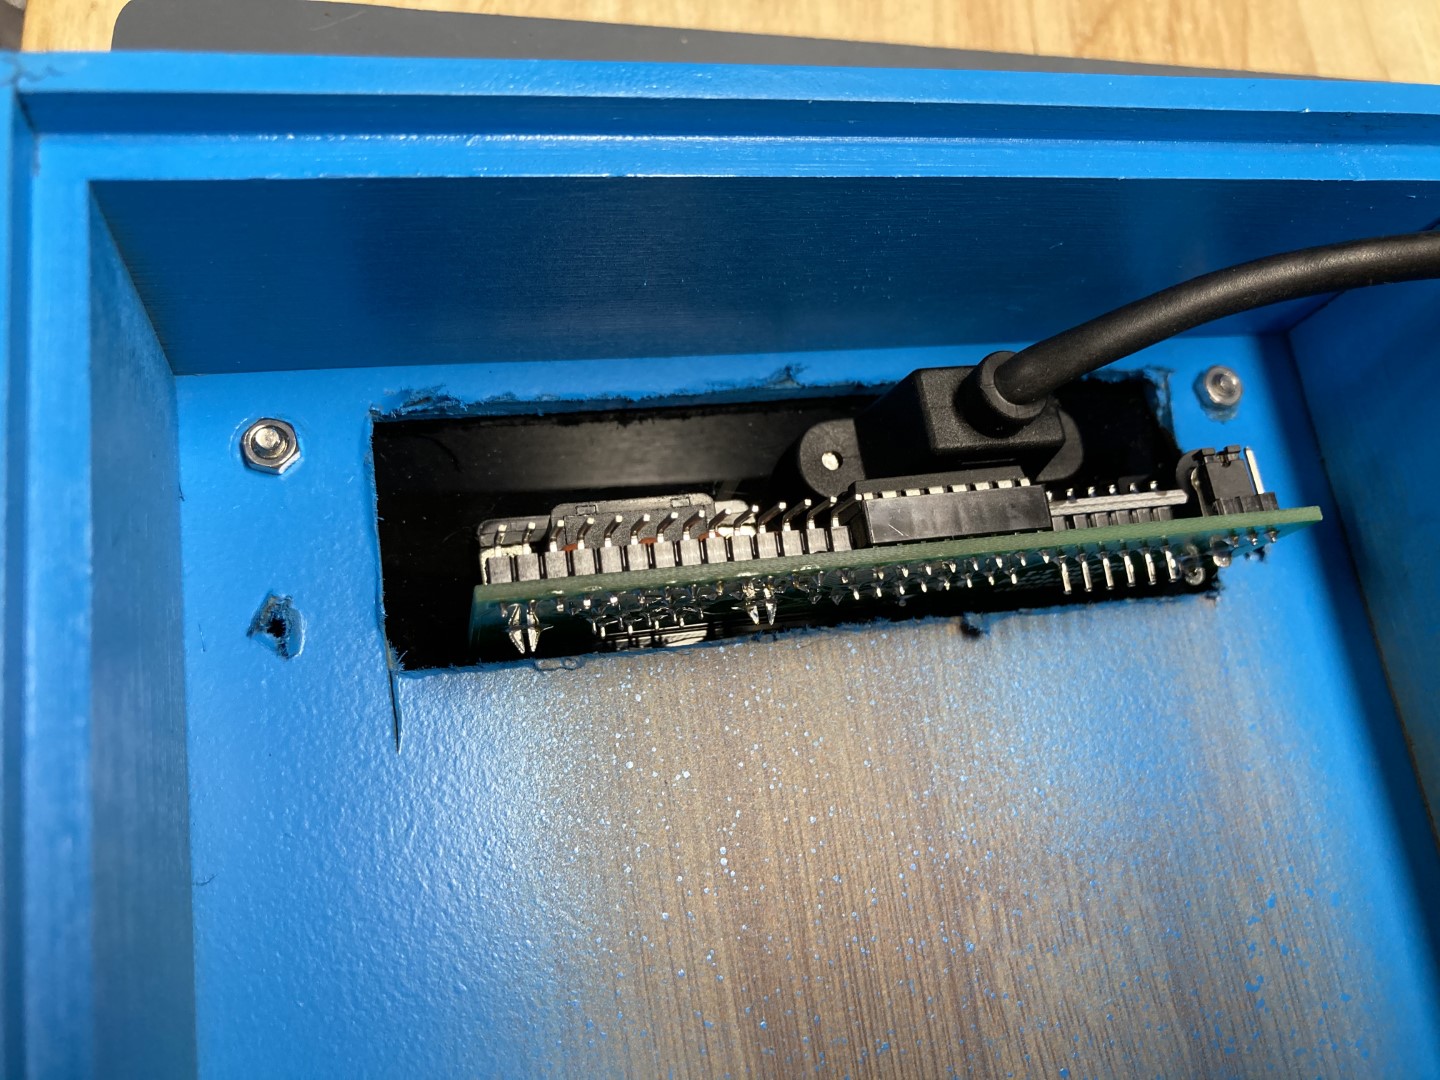
- Then put the main circuit board in place, with the 14 pins from the expansion connector going into the correct holes on the main board. This can be tricky, but possible. Secure the standoffs in place with the M3 bolts, and solder the 14 pin connector in place. You're now ready to put the front panel in place, and your kit is finished!