
If you have an earlier version of the kit, you can find previous copies of installation instructions here.
Your Arduino will arrive pre-programmed, but you may want to update the software at some point. You can do that by following the instructions on this page.
The manual mentions David Hansel's documentation. You can download that here.
I BROKE/LOST/ERASED MY SD CARD!
Pretty much any Micro SD card will work, available from Amazon, Walmart, or almost any store. You can download the contents of the SD card that originally came with your kit from this archive.Addendum
THIS IS IMPORT STUFF, READ BEFORE BUILDING! Here's where I'll add a few items that did not make it into the manual:
Altair-Duino Pro 3.0:
If your nameplate is coming unattached, you may want to secure it in place with a bit of glue. I use the brush-on style of super glue.

Altair-Duino Pro 3.0:
Do you feel your faceplate frame is warped? It's made of four pieces of 5mm aluminum welded together. The aluminum alloy used is quite malleable, so you can make minor adjustments.

- Place the frame on a sturdy surface and use firm, but gentle pressure, then check the frame and repeat if necessary. Be gentle - you could break the corner welds if you use too much pressure.

Remember: gentle pressure! Use a ratcheting clamp if you have one available.
*I am not responsible for any damage you may cause to the frame.

If you have the Experimenter version 2.5.0 or earlier, or Pro version 3.0.2 or earlier and want to use an ESP-01s on A6/A7.
This applies only to version 2.5.0. Future versions are correct.
This correct to use D18/D19 (replacing the VT100 emulator).

- To use A6/A7 (replacing the DE9 Serial Port) you must cross-connect the jumper pins using some small wires.

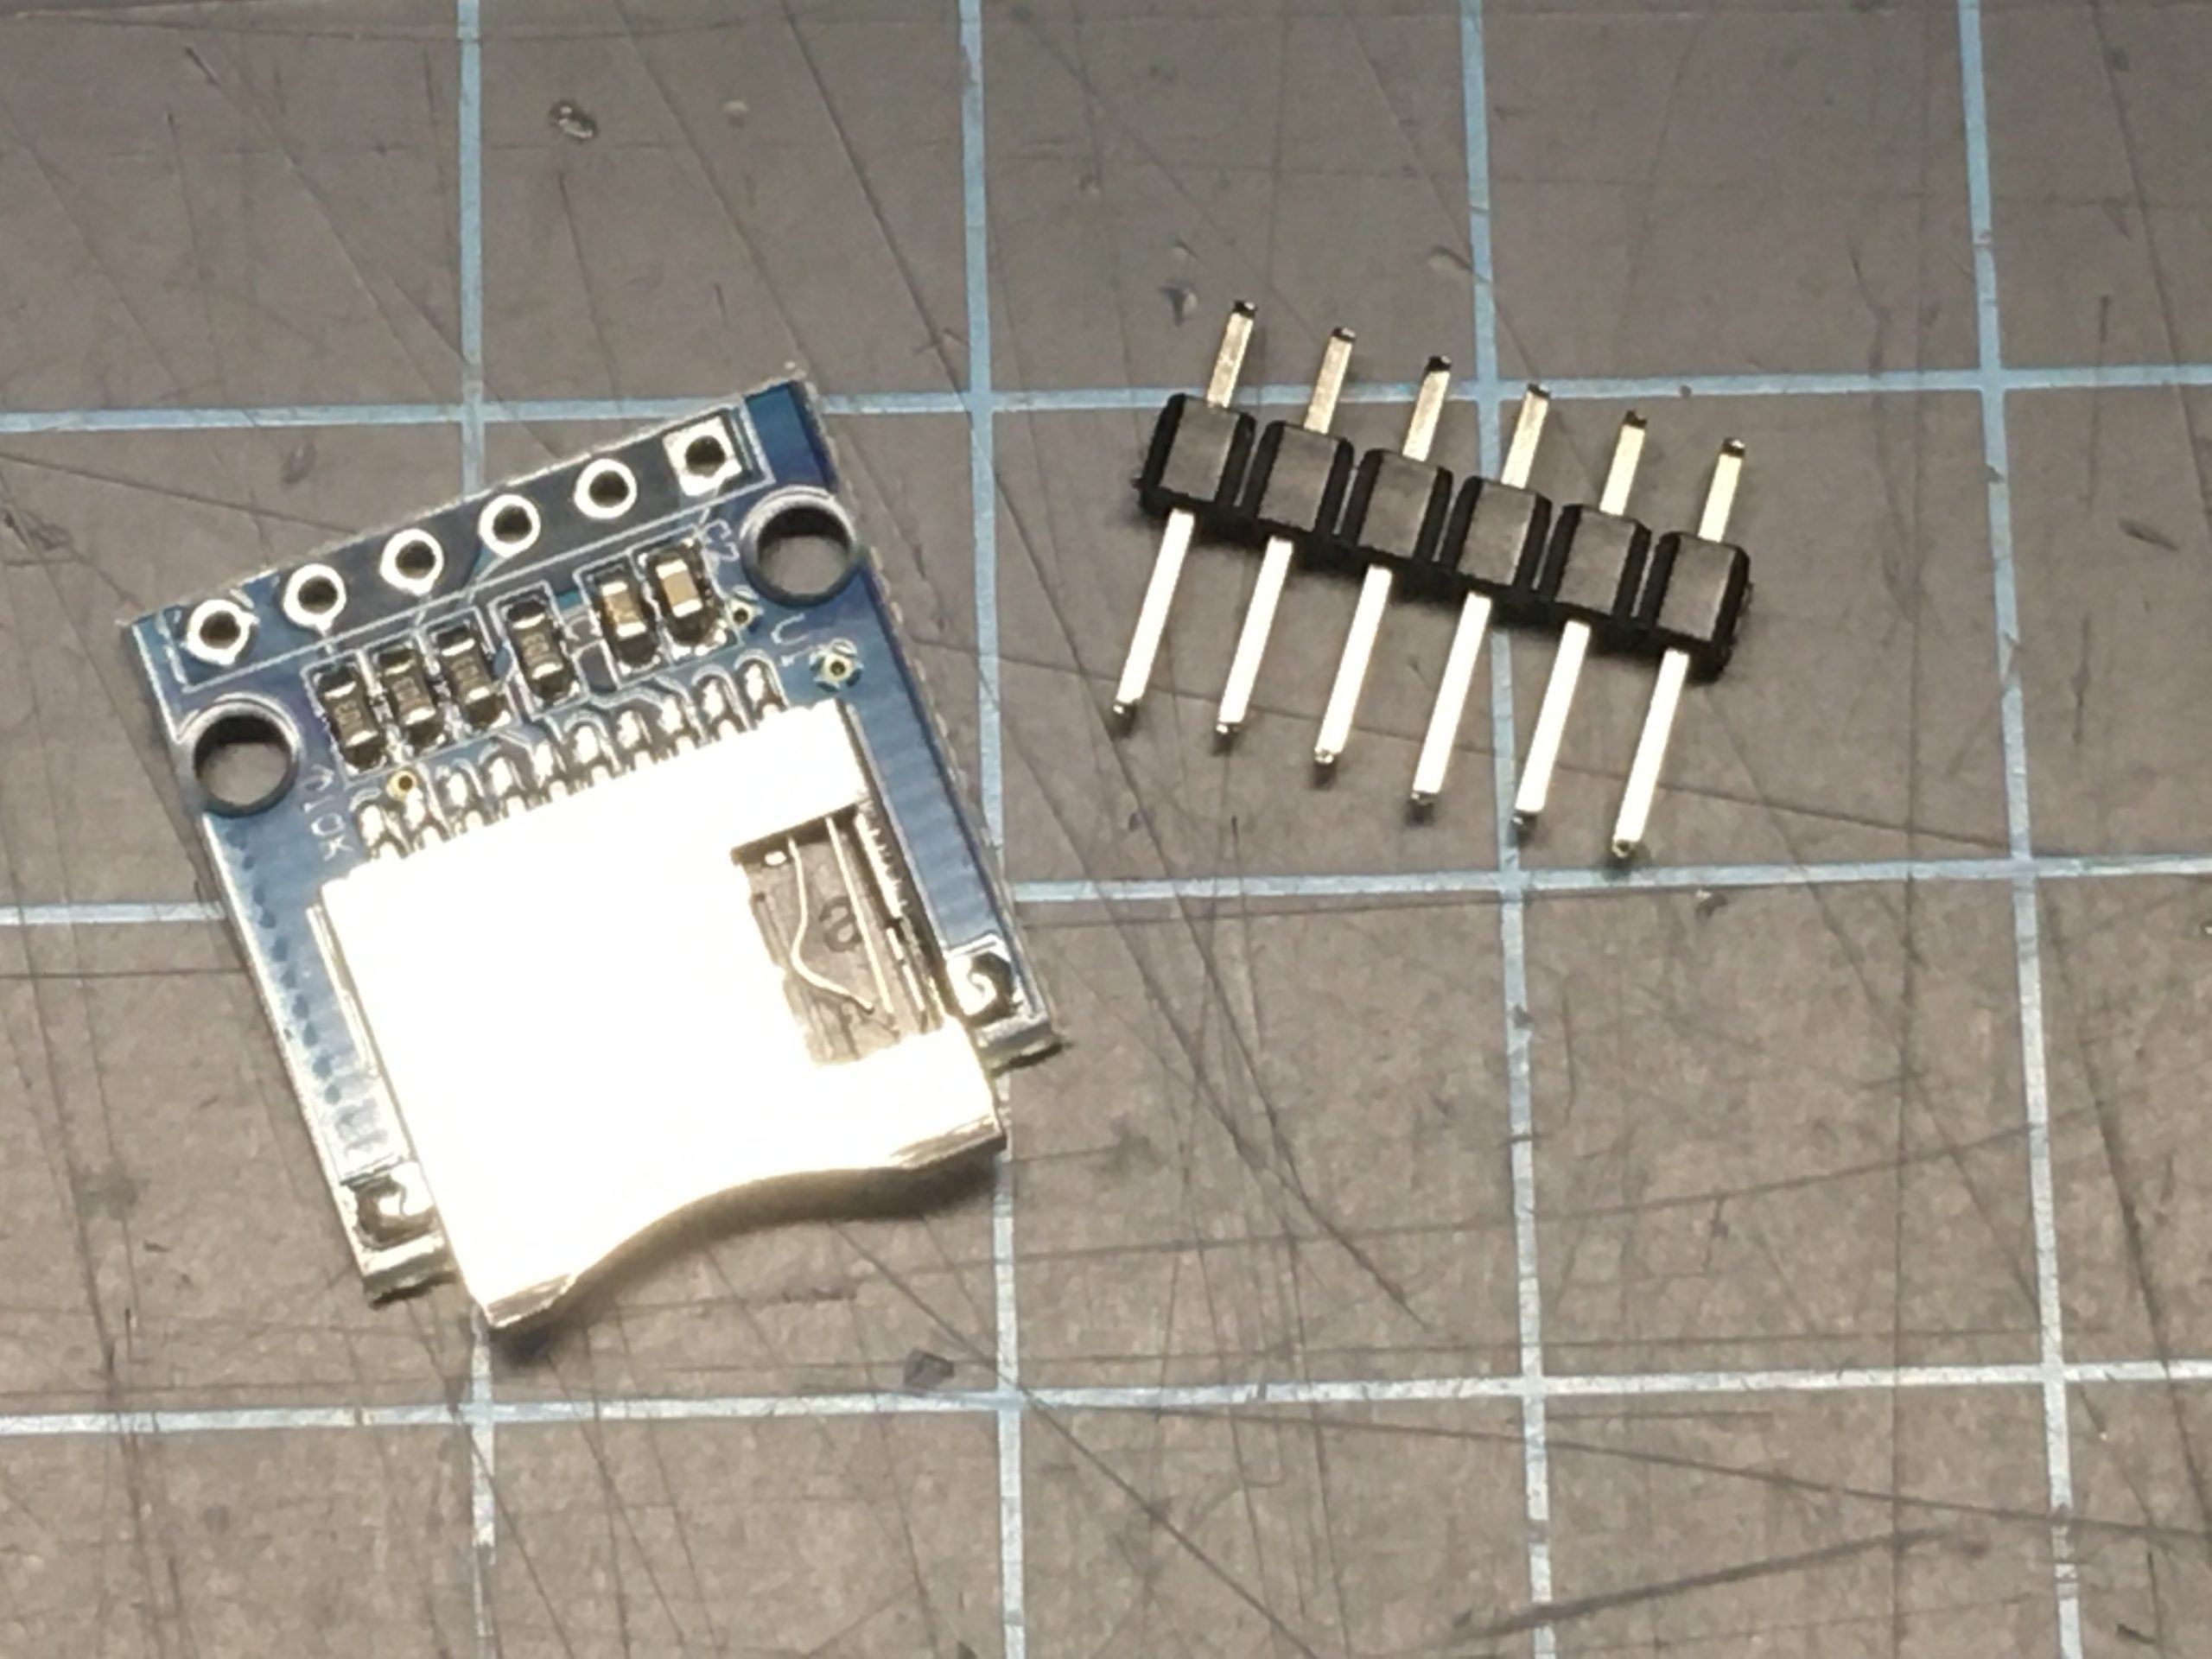
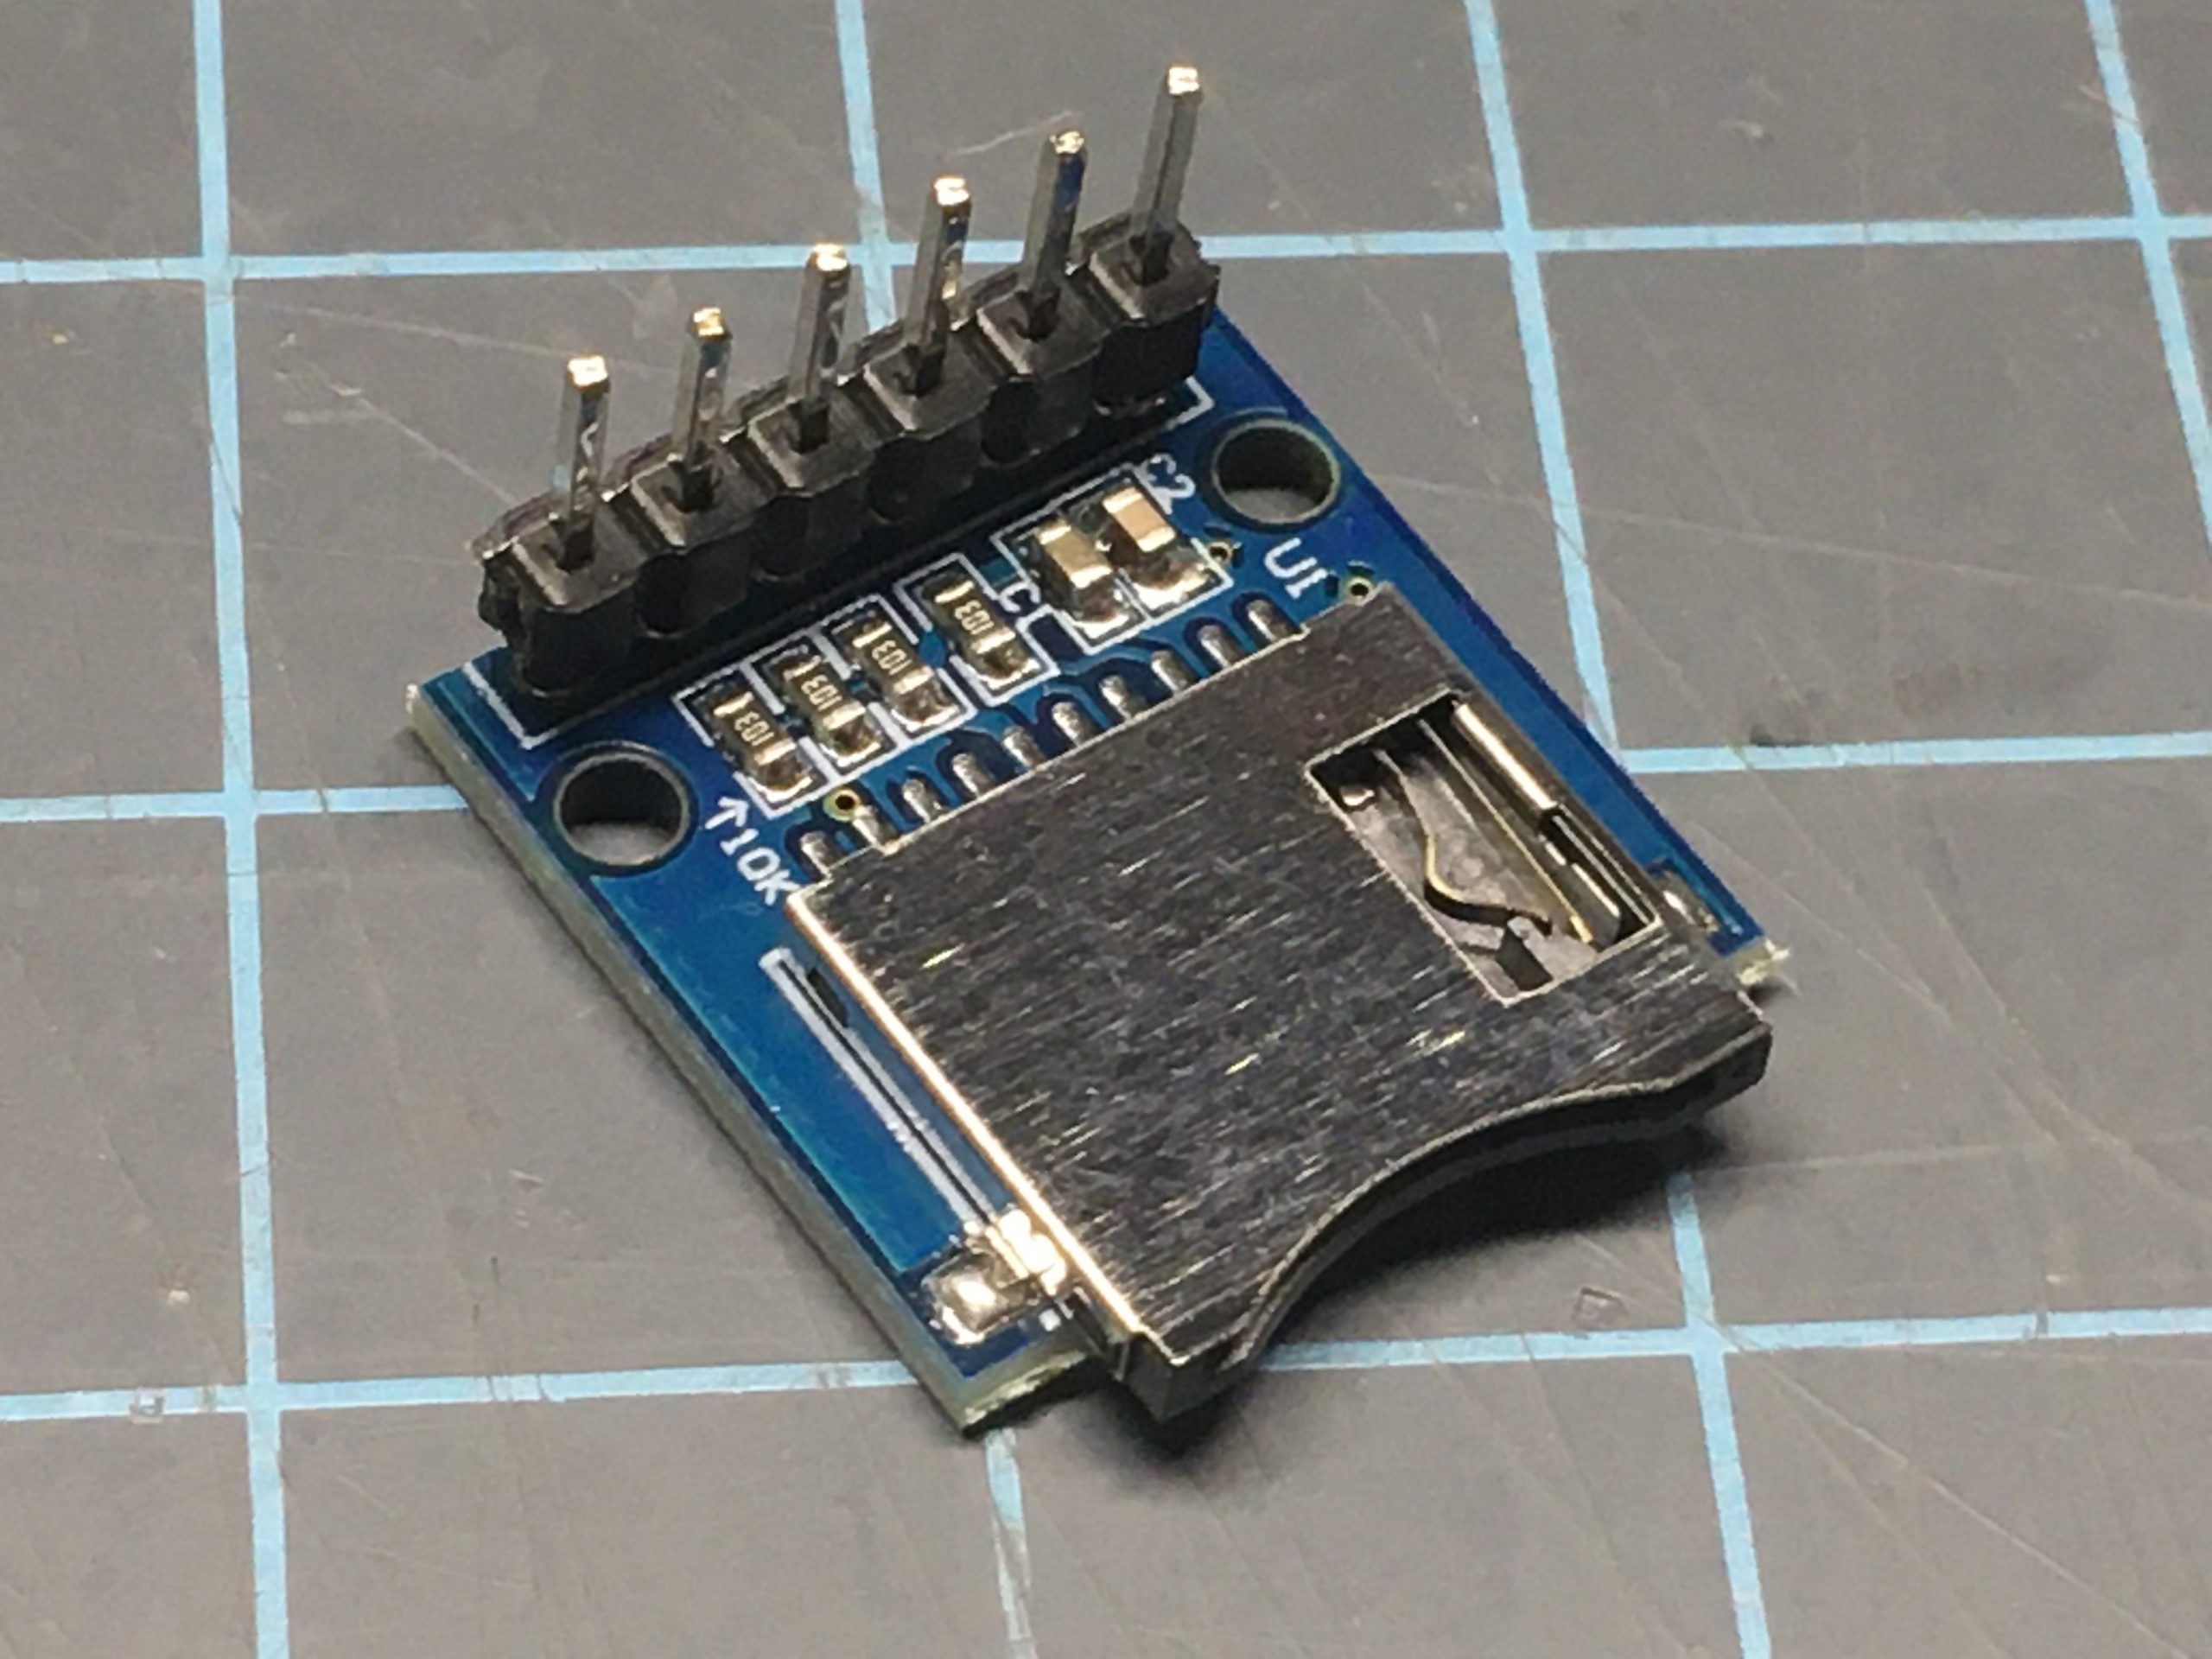
- If you received a micro SD card module with unattached header pins, you will need to solder them with the header pins coming out of the top of the module.
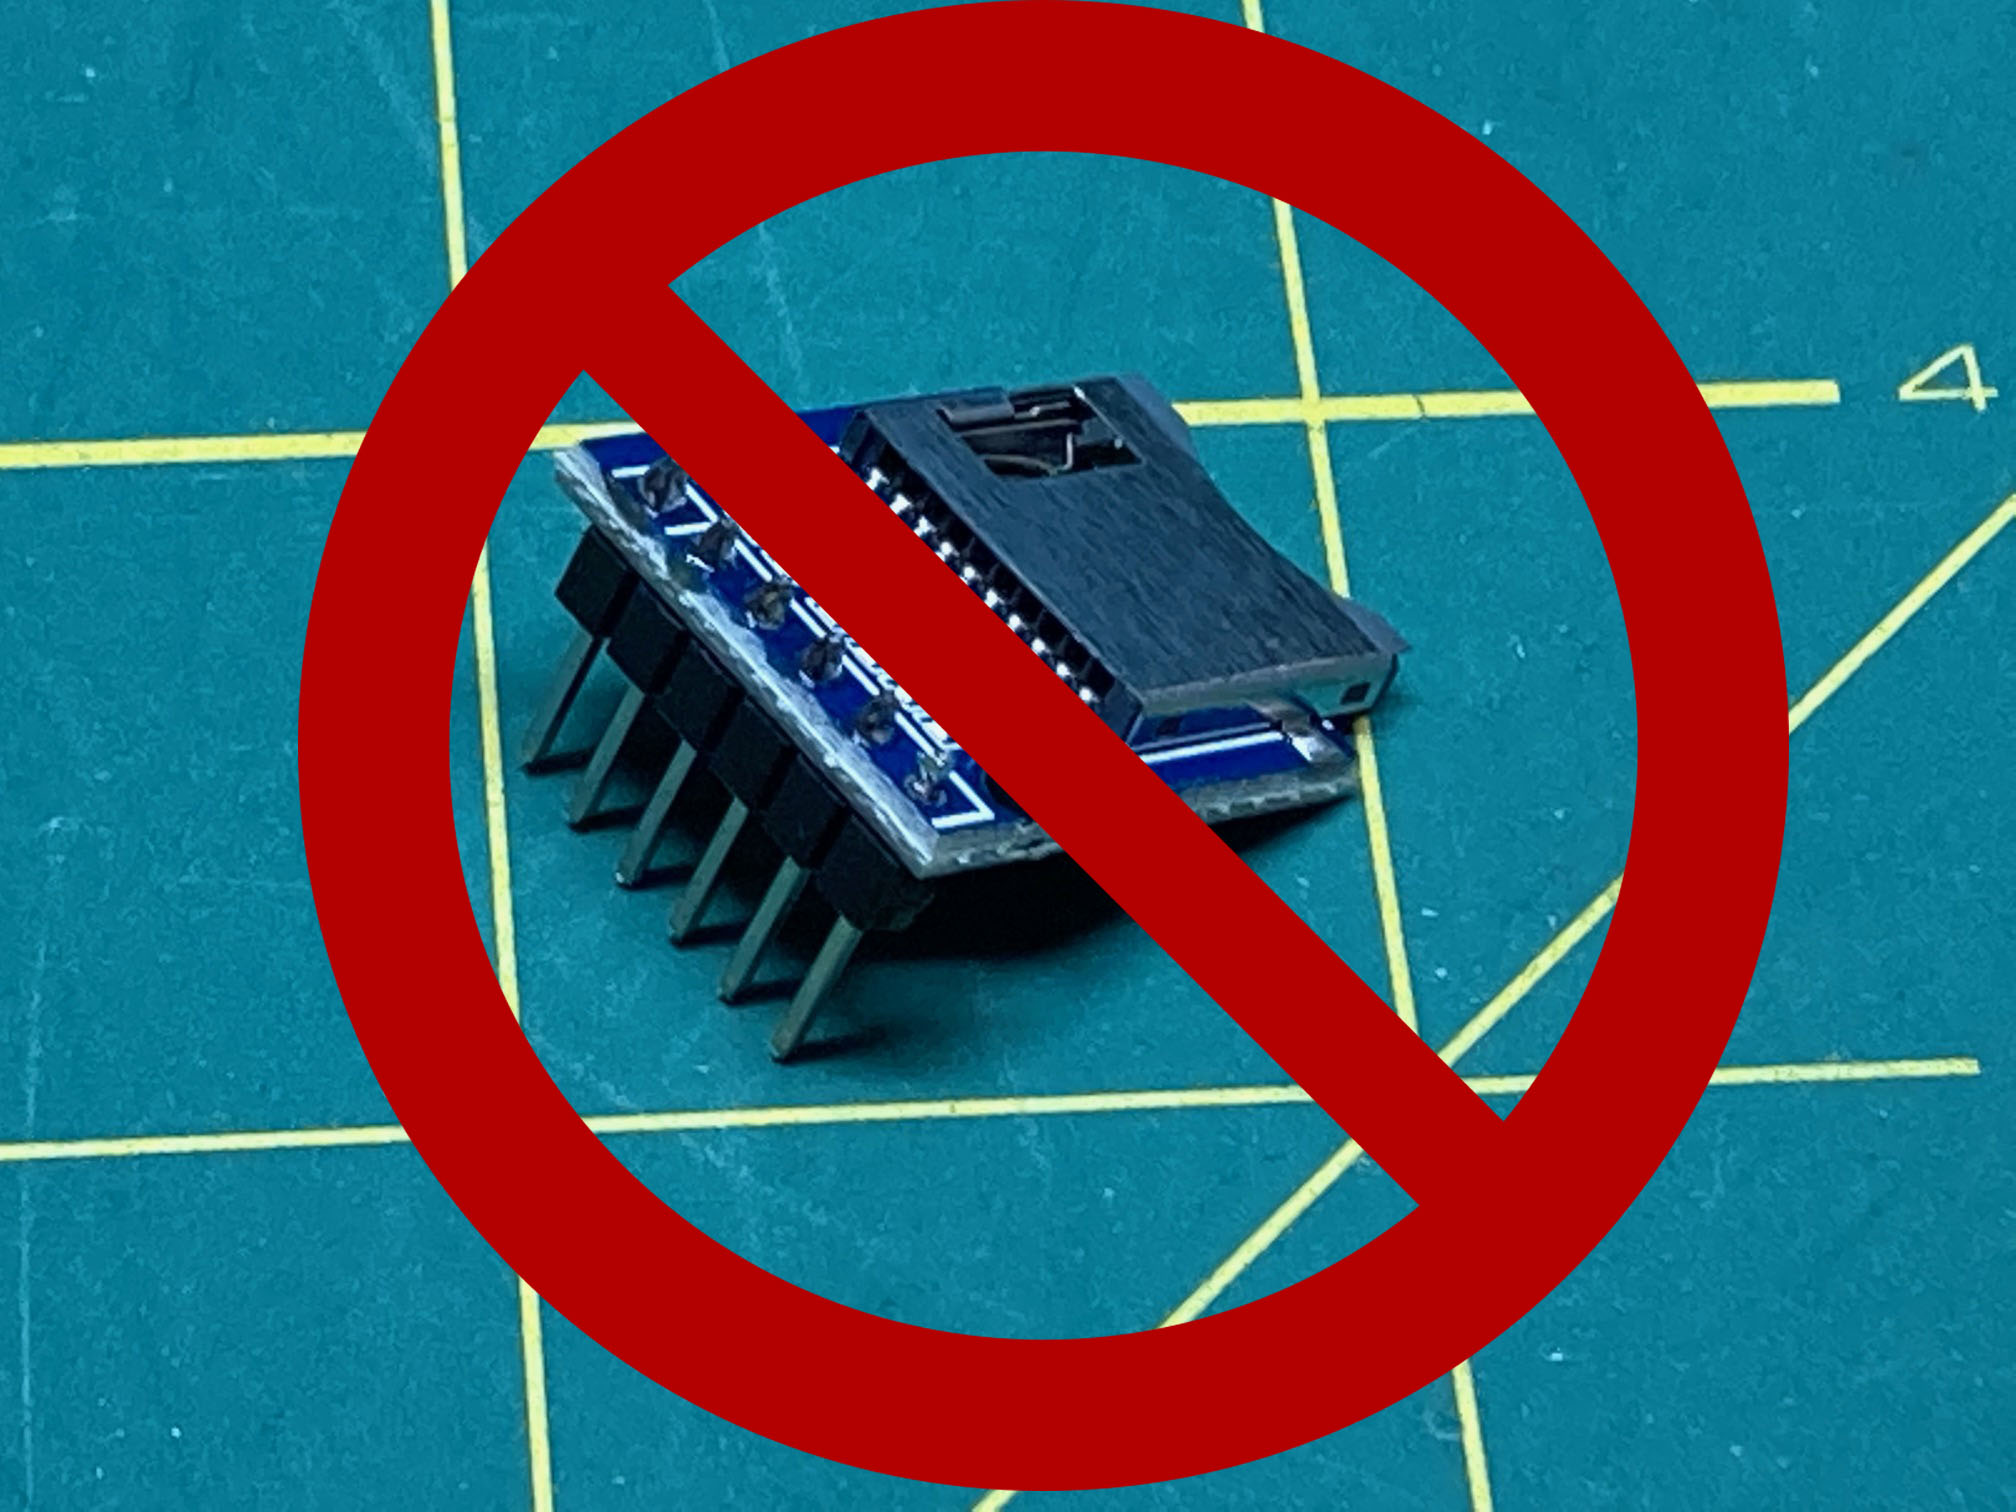
- WHATEVER YOU DO - DON'T SOLDER THE HEADER PINS LIKE THIS! (I've actually made this mistake myself in the past...)
- This may seem to be the non-intuitive location for the header, but it is correct for this kit.
Altair-Duino Pro & Experimenter 2.0.x and earlier:
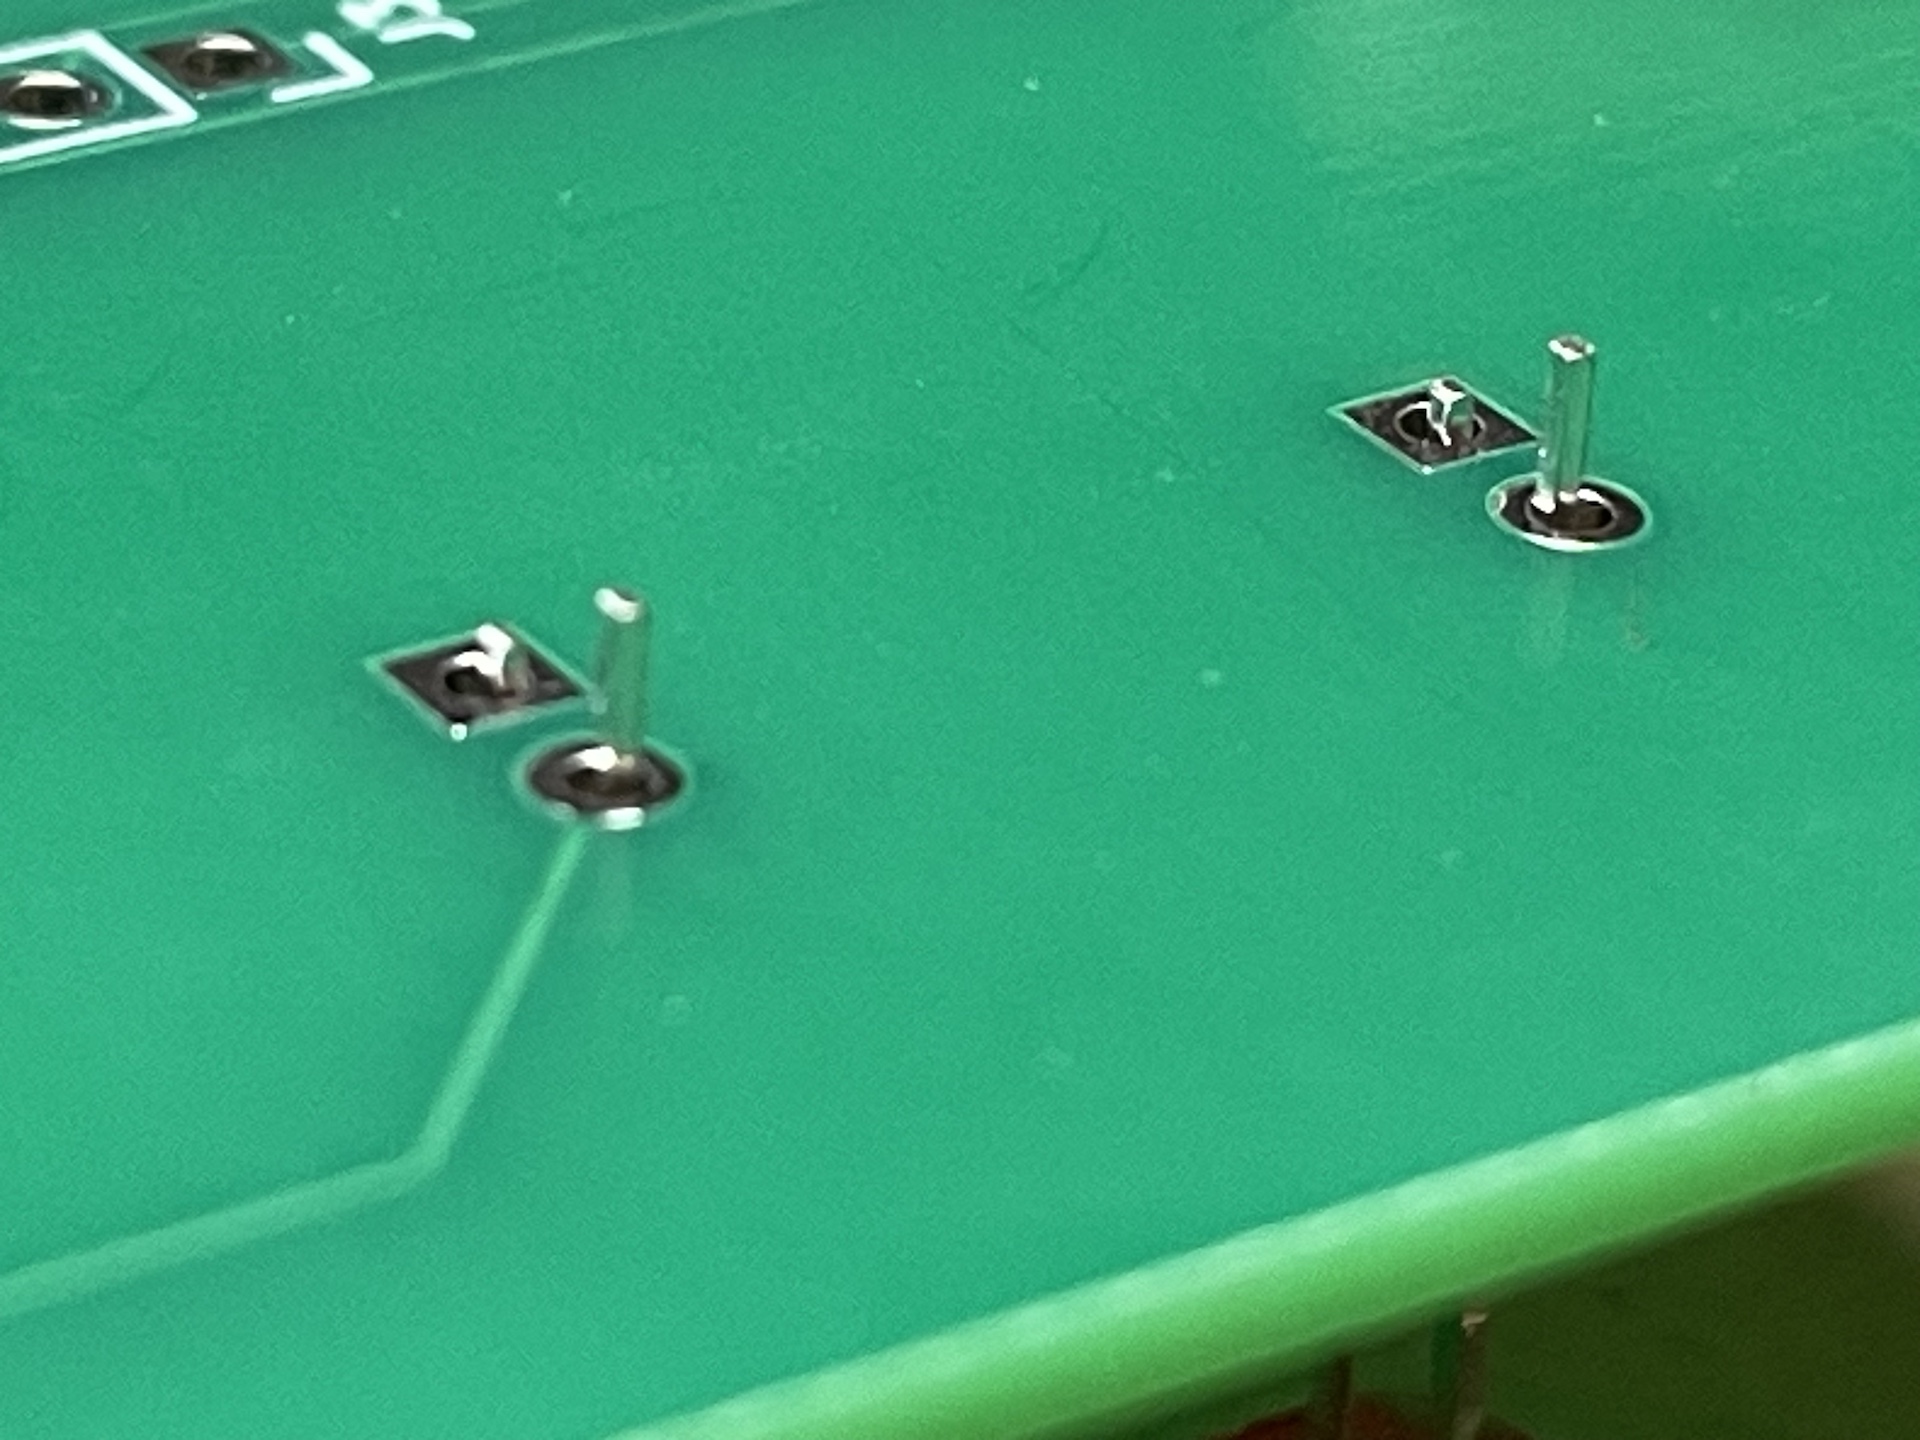
When soldering the LEDs to the PC board, you may notice that the legs do not stick through the board very far. They should look like this photo:If they do not look like that, make sure your front panel or circuit board is not warped, and make sure you have removed the nuts and washers from the toggle switches.
Altair-Duino Pro version 2.0.x:
If you would like to use the knock-out ports on the rear of the Altair-Duino Pro kit, use a screwdriver or awl to push or tap on the end of the knock-out, which will cause it to rotate around the small uncut axis points. Twist it back and forth until it breaks out.
Hey! Why is my PROT toggle not working?
To enable a second serial port on the Altairduino, it was necessary to "steal" a pair of pins from somewhere. It was determined that the PROT toggle was probably the least used, so it's disabled. If you absolutely want the PROT toggle and don't care about the second serial port, take a look at the documentation and search for "PROTECT".If you want to enable the PROTECT/UNPROTECT switch, you will need to rebuild the Arduino software, and remove the SP3232 chip.
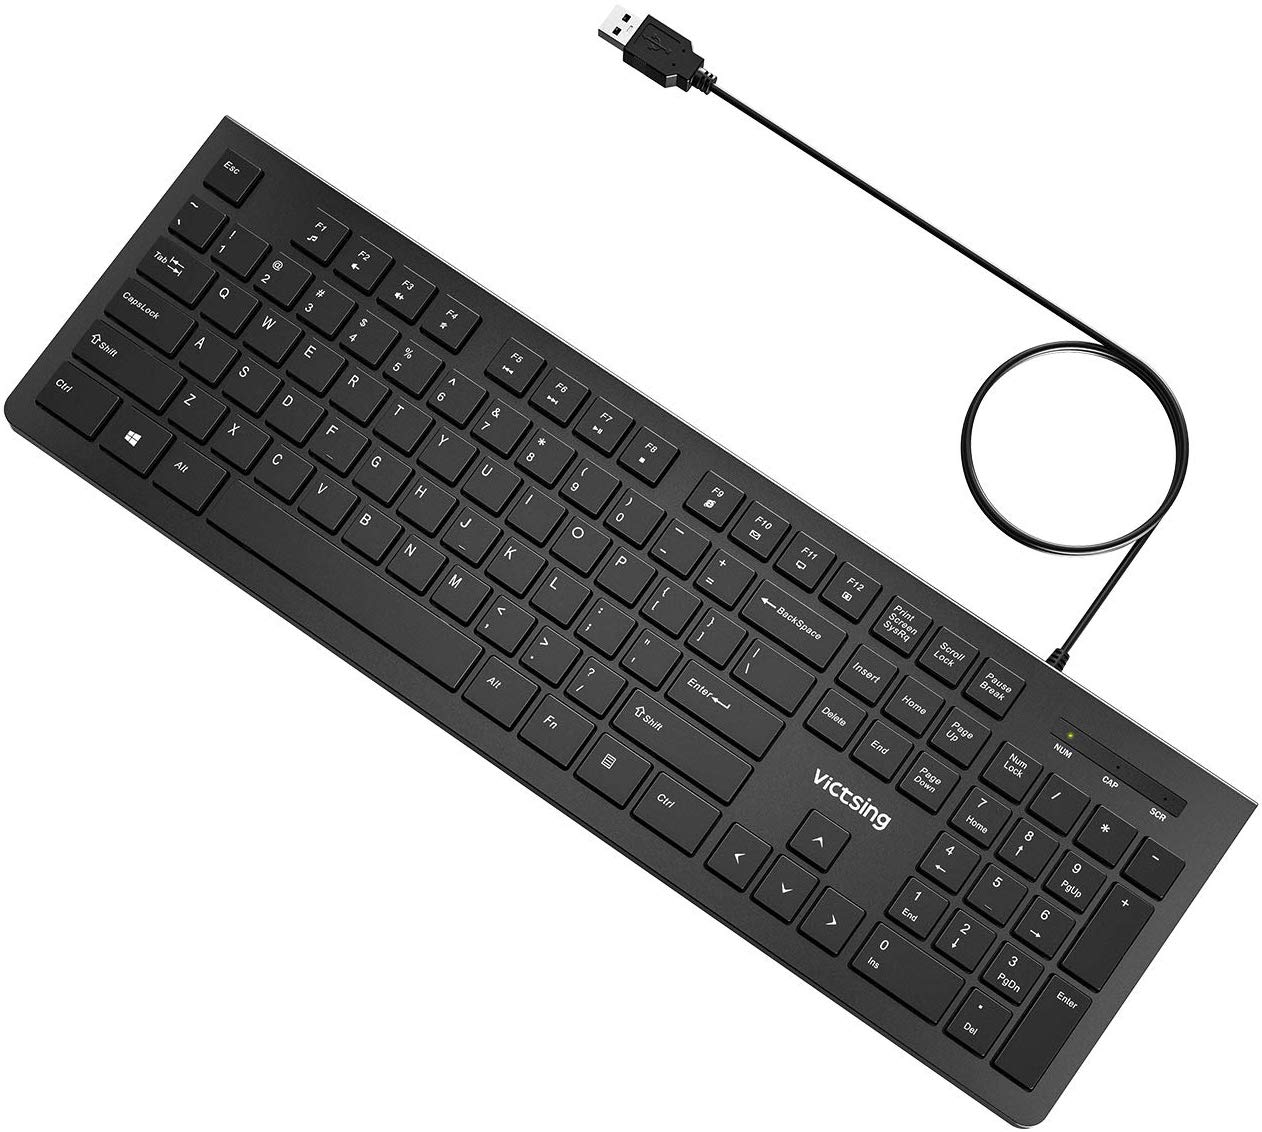
Version 1.1 of the I/O expansion board (available March 2020 and later) now has a USB keyboard connector. Any standard wired USB keyboard should work, but you need to avoid using a keyboard with a USB hub. Some keyboards have built-in USB hubs and those will not work either. If your keyboard has one or more USB sockets on it (to connect a mouse for example), or is wireless, then it likely contains a USB hub and will not work. Also, most back-lit mechanical keyboards do not work. I suspect they have an internal hub to route power to the lighting.
Here's a page with more information about the USB keyboard requirements and links to some RGB lighted mechanical keyboards verified to work: LINK
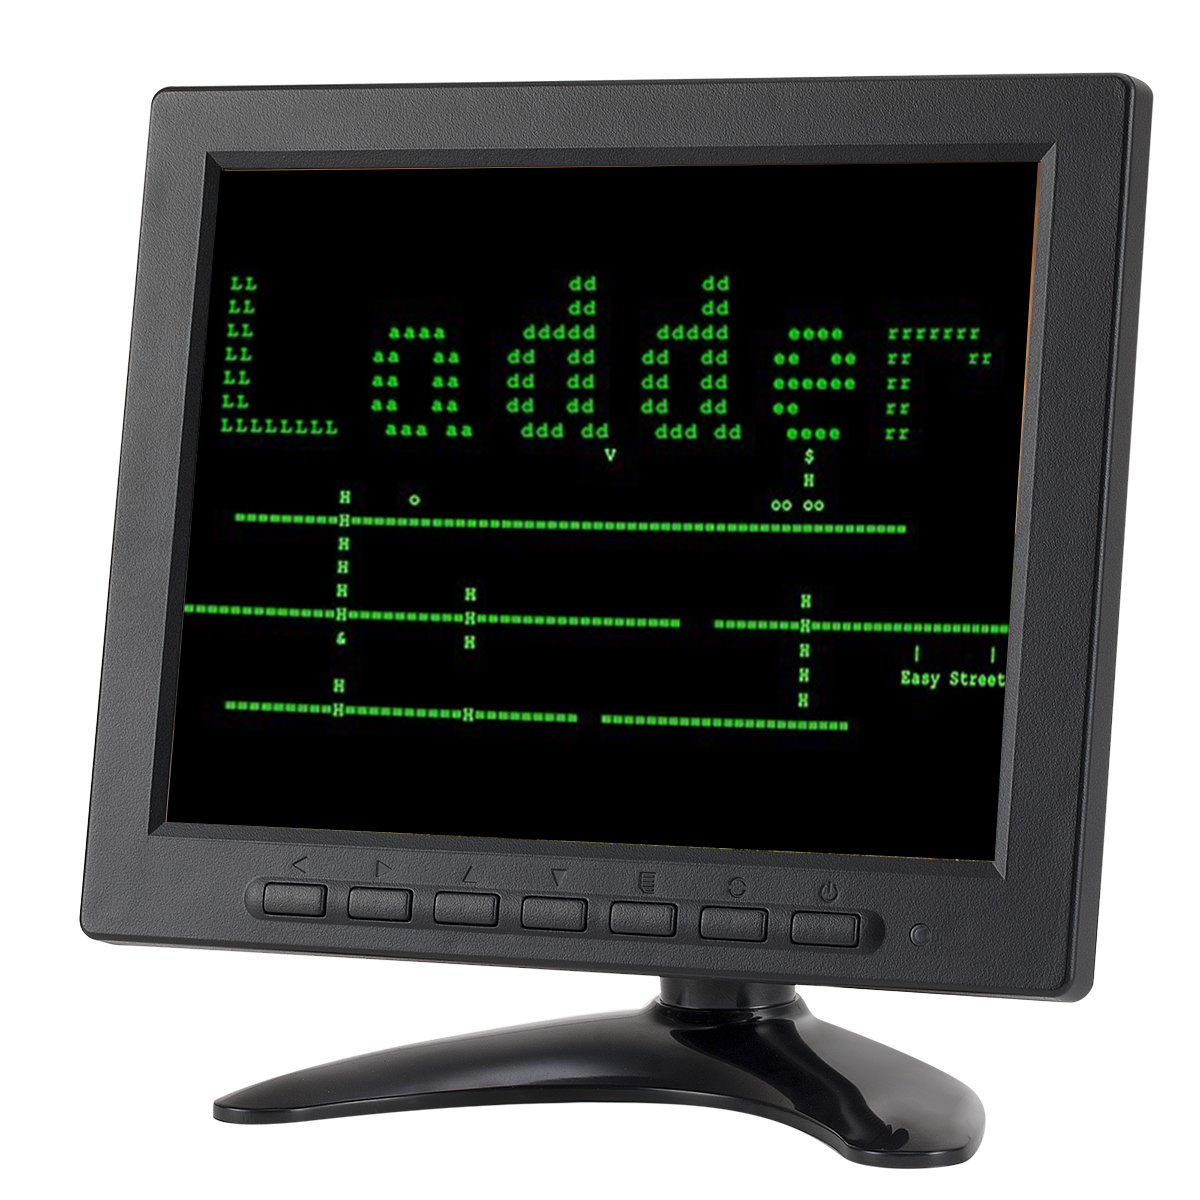
I also like this Eyoyo 8 inch TFT LCD Monitor. It's small, light, and inexpensive (less than $60) and it has a variety of inputs, including VGA, HDMI, composite, and component. Everything you need for almost all retro computing possibilities. Plus it has a 4:3 retro computing aspect ratio.
Don't worry, thousands of people have built this kit with no problems at all. We have an active online forum if you have any questions, and I'll personally guarantee you end up with a working kit. If you have problems, you can pay two-way shipping and I'll diagnose and repair the kit for you.